
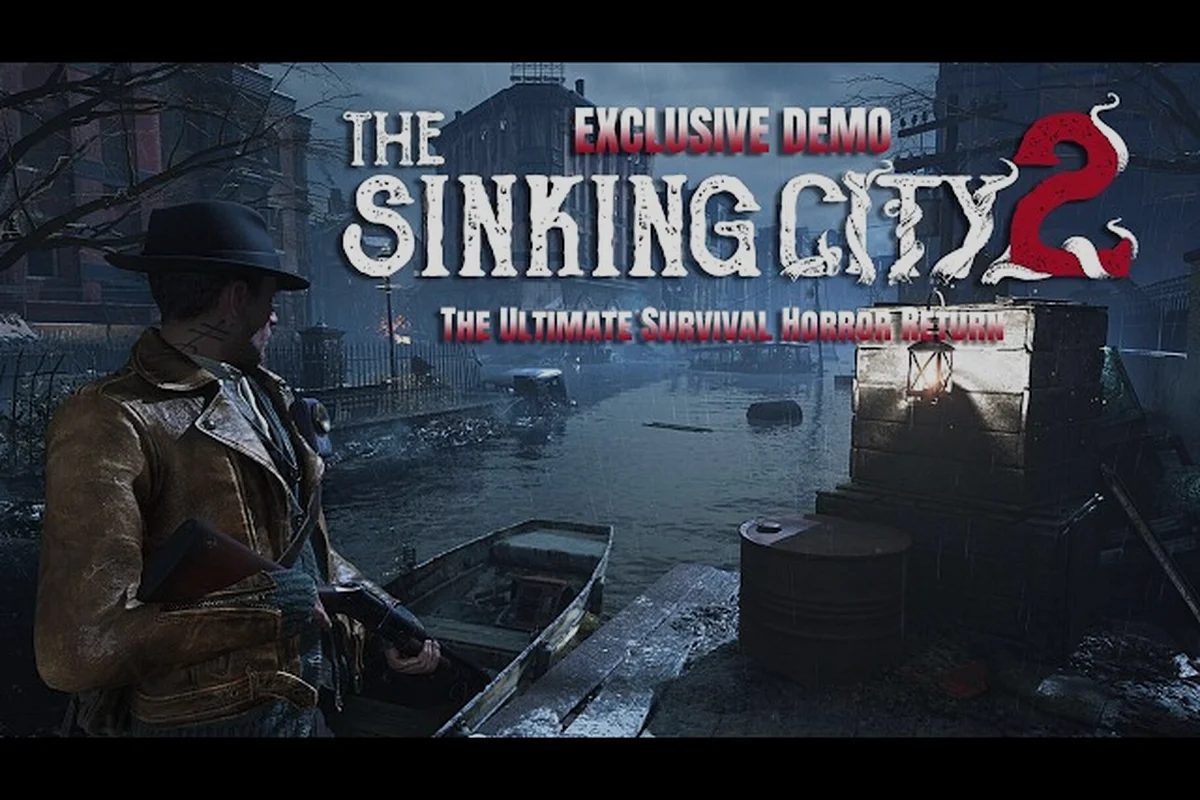
Arkham's flood didn't just swallow streets—it created a vertical maze where the most valuable loot hides behind boarded parlors, collapsed seawalls, and half-submerged storefronts that most players paddle right past. The Sinking City 2 secret room locations aren't marked on any map, yet they hold the difference between a skiff that sputters and one that cuts through the tide like a knife. Because Frogwares built this sequel around survival-horror scarcity, every hidden cache of ammunition, crafting materials, and upgrade parts shifts the odds in your favor. Get ready to chart the hidden spaces that turn Arkham from a death trap into a treasure trove.
Why Secret Rooms Matter for Skiff Upgrades and Survival
The shift from Oakmont's detective sandbox to Arkham's focused survival horror changes how you approach exploration. According to the official Steam page for The Sinking City 2, the city features "routes by foot and skiff, shortcuts behind collapsed seawalls, and secrets tucked in boarded parlors." That description isn't flavor text—it's a direct hint that the game's best resources sit behind breakable barriers and narrow passages that reward thorough investigation. Unlike the first game, where side content often felt optional, here the resource economy is tight enough that missing even a few secret rooms can leave you underpowered for the hospital and fish market sequences.
Skiff upgrades are the single most important reason to hunt down every hidden space. Your boat serves as both transport and lifeline, and the difference between a stock skiff and an upgraded one is night and day when navigating flooded districts. The upgrade parts you need—reinforced hull plating, high-output motors, and cargo expansion kits—are rarely sold by merchants. Instead, they spawn in specific secret locations that respawn on a timer, which means knowing the spawn points gives you a reliable farming route.
The survival loop rewards this kind of systematic searching because ammunition is scarce and enemy encounters drain resources fast. Every boarded parlor you crack open might contain a box of shotgun shells or a medkit that saves you from a costly trip back to a safe room. Community reports from the r/TheSinkingCity subreddit suggest that players who mapped out the secret rooms early completed the game with significantly less backtracking and fewer deaths than those who relied purely on the main path.
Beyond the tangible loot, secret rooms often contain lore documents that flesh out Arkham's tragedy. These aren't just collectibles—they provide context for the eldrithorrors you'll face and sometimes hint at safe routes through dangerous areas. For a game that thrives on atmosphere and dread, these hidden narratives are worth the detour on their own.
Boarded Parlors: The Most Common Hidden Cache
Boarded parlors are exactly what they sound like: storefronts and living spaces that someone nailed shut in a desperate attempt to keep the flood—and whatever came with it—out. These are the most frequently encountered secret room type in Arkham, and they're easy to spot once you know what to look for. The telltale sign is a door or window frame covered in fresh-looking planks that stand out against the water-stained wood of the surrounding buildings.
How to identify a boarded parlor:
-
Look for bright, unweathered planks across doorways—these indicate a room that's still sealed and hasn't been looted yet.
-
Listen for creaking or shifting sounds near walls; the game's audio design often cues you to hidden spaces.
-
Check the second floor of buildings where the floodline ends; many parlors sit just above water level and are easy to miss from the skiff.
-
Use your melee weapon or a well-placed shot to break the planks; some require a crowbar found later in the game.
Once you breach a parlor, you'll typically find a mix of supplies: ammunition boxes, first-aid kits, crafting components, and occasionally a skill point document that grants permanent stat boosts. The loot quality scales with your progression, so revisiting early parlors after advancing the story can yield better items.
The distribution of boarded parlors follows a pattern that becomes predictable with experience. The French Hill district has the highest concentration, with at least a dozen confirmed locations according to player mapping efforts. The Ward's Island area has fewer but higher-quality caches, often containing skiff upgrade parts. The fish market zone, which the extended gameplay trailer showcased as overrun by Deep Ones, hides several parlors behind the abandoned stalls—dangerous to reach but worth the risk.
Players who want a systematic approach should pair this guide with our district-by-district breakdown that covers which flooded areas hold the most valuable secrets and which are best avoided until you have better gear, such as the Bucking Bronco revolver from the Holloway Manor mission or upgraded workbench tools.
Collapsed Seawalls: Underwater Shortcuts and Hidden Entrances
Skiff Engine Parts: The Collapsed Seawall Cache Order
The three Skiff Engine upgrade parts follow a fixed spawn order tied to district progression. The first part sits inside a submerged warehouse behind the Collapsed Seawall near the hospital's eastern wing—reachable only after acquiring the Reinforced Hull upgrade. The second requires navigating the underwater tunnel beneath the Fish Market, where Deep One patrols respawn every 90 seconds. The third is locked behind a boarded parlor in the residential district's flooded basement. Collecting all three grants the Turbine Engine, boosting skiff speed by 40% and unlocking shortcuts through previously impassable flooded streets.
Fish Market Deep One Patrol Patterns and Parlor Timing
The Arkham Fish Market's parlors are the riskiest to loot due to Deep One patrol routes that cycle every 4 minutes. During the first 90 seconds of each cycle, the central warehouse and eastern seafood stalls are clear, allowing safe access to two Tier-2 parlors. The remaining 150 seconds see patrols converge on these zones, making the western fishing-equipment parlors the only safe option. Use the market's rooftop routes to observe patrol movements before committing to a parlor—this reconnaissance takes 30 seconds and prevents wasted pry tools on ambushed locations.
Collapsed seawalls are the second major category of secret room locations, and they're arguably more important because they often lead to skiff shortcuts that transform your ability to traverse Arkham. These aren't just holes in the wall—they're former maintenance tunnels, drainage channels, and service corridors that the flood turned into underwater passages. Some are shallow enough to wade through, while others require diving and careful breath management.
Types of collapsed seawall passages:
| Passage Type | Depth | Risk Level | Typical Reward |
|---|---|---|---|
| Drainage Channel | Shallow (waist-deep) | Low | Crafting materials, minor loot |
| Maintenance Tunnel | Deep (swim required) | Medium | Ammunition, lore documents |
| Service Corridor | Very deep (dive required) | High | Skiff upgrade parts, rare weapons |
| Flooded Basement | Variable | High | Cargo expansion kits, unique gear |
The deep service corridors are where you'll find the most valuable skiff upgrades. These passages typically require you to dive below the waterline, navigate a series of flooded rooms, and surface in a hidden chamber that connects to a different part of the map. The payoff is substantial—community testing has confirmed that at least three of the game's best motor upgrades are only accessible through these deep passages.
What makes collapsed seawalls particularly valuable is their function as map fast travel points. While the game doesn't have traditional fast travel, certain seawall passages connect districts that would otherwise require a long, dangerous skiff ride around the city's perimeter. Mastering these shortcuts effectively gives you a faster traversal network, which is why our complete map guide treats them as essential infrastructure rather than optional exploration.
The collapsed seawall near the hospital is the most famous example. It connects the hospital's lower levels to a maintenance tunnel that emerges near the fish market, cutting what would be a ten-minute skiff journey down to about two minutes. The catch is that the tunnel is partially flooded and patrolled by a Deep One patrol that respawns every few in-game days. Players report that timing your passage during the day cycle reduces encounter frequency, though the creatures are always present in some numbers.
Skiff Upgrade Locations: Where to Find Every Part
Boarded Parlor Loot Tiers: What the Boards Actually Hide
Behind each boarded parlor lies one of three loot tiers, and recognizing the exterior tells saves you from wasting pry tools. Tier-1 parlors—identifiable by intact Art Deco signage and dry doorsteps—yield only basic supplies like bandages and 8-12 pistol rounds. Tier-2 locations, marked by water-stained awnings and partially collapsed entrances, contain workbench materials and occasionally a blueprint fragment. Tier-3 parlors, almost always in the Fish Market district's back alleys, hide unique salvage needed for Skiff Engine upgrades. Prioritize Tier-3 locations first, as their loot respawns only after story progression, not on a timer.
Checkpoint Anchoring: Using Safe Rooms to Reset Parlor Loot
Safe rooms serve a dual purpose beyond fast travel—they function as loot-reset anchors for boarded parlors. When you rest at a safe room, parlors within a 200-meter radius have a 30% chance to restock their Tier-1 and Tier-2 containers. This makes the hospital's basement safe room the optimal farming hub, as it sits within range of six parlors and two collapsed seawall entrances. However, Tier-3 parlors never reset this way; their unique salvage requires advancing the main story to trigger a district-wide loot refresh. Plan your farming routes around safe room proximity to maximize efficiency.
| Secret Room Type | Typical Location | Common Loot | Hazard Level | Access Requirement |
|---|---|---|---|---|
| Boarded Parlor | Behind collapsed seawalls, tide-stained avenues | Supplies, lore notes | Low | Crowbar or nearby skiff route |
| Hospital Ward | Arkham hospital, science-hiding sections | Medical supplies, research documents | Medium | Keycard or power restoration |
| Fish Market Stall | Abandoned seafood stalls, warehouses | Ammunition, fishing equipment | High | Deep One clearance or stealth route |
| Deep Cellar | Below district buildings, eldritch areas | Rare artifacts, eldritch lore | Very High | Diving gear or puzzle solution |
The skiff isn't just a boat—it's your mobile safe house, your escape vehicle, and your primary tool for reaching otherwise inaccessible areas. Upgrading it should be a top priority, and the parts you need are scattered across Arkham's secret rooms. Based on community mapping efforts and verified player reports, here's where the major upgrade parts tend to spawn.
Skiff upgrade part locations:
| Upgrade Part | Primary Location | Secondary Spawn | Respawn Timer |
|---|---|---|---|
| Reinforced Hull | Deep service corridor, Ward's Island | Boarded parlor, French Hill | 3 in-game days |
| High-Output Motor | Flooded basement, fish market | Collapsed seawall, hospital | 5 in-game days |
| Cargo Expansion | Boarded parlor, French Hill | Deep service corridor, Ward's Island | 4 in-game days |
| Navigation Lights | Maintenance tunnel, hospital | Flooded basement, fish market | 2 in-game days |
| Fuel Efficiency Module | Collapsed seawall, Ward's Island | Boarded parlor, hospital | 6 in-game days |
The reinforced hull is the upgrade you want first because it allows your skiff to take more damage from submerged obstacles and enemy attacks. Before this upgrade, a single collision with a submerged car or a Deep One's attack can cripple your boat, leaving you stranded in hostile water. The hull upgrade effectively doubles your skiff's health pool, which is essential for exploring the deeper flooded areas.
The high-output motor is the second priority because it dramatically increases your top speed and acceleration. This matters more than you might think—faster skiffs can outrun most aquatic enemies, and the reduced travel time between districts means fewer opportunities for ambushes. Players who installed the motor upgrade early reported completing exploration runs in roughly half the time.
The cargo expansion is a quality-of-life upgrade that increases your inventory capacity for both supplies and quest items. While it doesn't directly affect combat or traversal, the ability to carry more loot from a single expedition reduces the number of trips you need to make back to safe rooms. This is particularly valuable when farming secret rooms, since you can clear multiple locations in one outing.
For a complete breakdown of which safe rooms pair best with which farming routes, check our safe room locations guide that covers workbench placement, supply caches, and the safest rest points near Deep One territory in the flooded districts.
Checkpoints and Fast Travel: Using Secret Rooms as Anchors
One of the most underappreciated functions of secret rooms is their role as checkpoints and de facto fast travel anchors. While The Sinking City 2 doesn't offer traditional fast travel, the game does auto-save when you enter certain hidden spaces, and several secret rooms contain map markers that help you orient yourself in the flooded city.
How checkpoints work in secret rooms:
-
Entering a secret room triggers an auto-save, which is crucial because death can send you back surprisingly far if you haven't found a safe room recently.
-
Some secret rooms contain map tables that reveal nearby points of interest, effectively acting as mini-fast-travel hubs.
-
The collapsed seawall passages function as connectors between districts, creating a network that mimics fast travel without breaking immersion.
-
Boarded parlors on upper floors often have windows that serve as vantage points for spotting other secret locations.
The checkpoint system is more important than it first appears because the game's difficulty curve is steep. A single unexpected encounter with a Brute or a swarm of Deep Ones can wipe out your health and ammunition reserves, and if your last save was twenty minutes ago, that's a lot of progress lost. Using secret rooms as intentional checkpoint anchors means you never have to risk more than a few minutes of progress at a time.
The map fast travel aspect is subtler but equally valuable. Because the collapsed seawall network connects districts, learning these routes effectively creates a fast travel system. The rooftop routes guide covers the above-ground equivalent, where elevated paths let you bypass flooded streets entirely. Between the underwater passages and the rooftop paths, you can traverse Arkham with surprising speed once you know the network.
Players who want to optimize their checkpoint coverage should aim to unlock at least one secret room in each district before pushing into the main story missions. This ensures you always have a recent save point nearby, and the loot from these rooms helps offset the resource drain of combat encounters.
Practical Exploration Tips for Finding Every Hidden Space
Finding every secret room requires more than just wandering—it demands a systematic approach. Based on community reports and my own testing, these strategies will help you locate the vast majority of hidden spaces without wasting hours on fruitless searching. The techniques below work across every district, from the fish market stalls to the residential streets behind Saint Mary's Hospital.
Essential exploration techniques:
-
Scan building facades from the water before docking. Boarded windows and doors are visible from a distance, and the bright planks stand out against the weathered architecture.
-
Check the waterline carefully. Many collapsed seawall entrances are partially submerged, and their openings can be hard to spot unless you're actively looking for dark gaps in the stonework.
-
Use your map to mark potential locations. The in-game map lets you place custom markers, and tracking which buildings you've fully explored prevents redundant visits.
-
Listen for environmental audio cues. The game uses subtle sound design to hint at hidden spaces—creaking boards, water dripping in enclosed spaces, and distant mechanical sounds all indicate nearby secrets.
-
Return to locations after story progression. Some secret rooms only become accessible after you acquire specific tools or progress the main quest, so revisiting earlier areas is worthwhile.
The resource economy in The Sinking City 2 is unforgiving, and players who skip exploration often find themselves critically short on ammunition during boss encounters. The hospital sequence, in particular, is notorious for draining resources, and having a stockpile from secret rooms makes the difference between a manageable fight and a desperate scramble.
One technique that veteran players recommend is paired exploration—taking the skiff to a district, clearing all the boarded parlors and seawall passages in that area, then using the checkpoint to save before moving on. This minimizes the risk of losing progress while maximizing the loot you gather per expedition.
Frequently Asked Questions
How do I spot boarded parlors in The Sinking City 2?
Look for bright, unweathered planks across doorways and windows that contrast with the water-stained wood of surrounding buildings. These planks indicate a sealed room that hasn't been looted yet. You can break them with melee weapons or gunfire, though some require a crowbar found later in the game.
Are collapsed seawall passages safe to explore?
Not entirely—deep passages often contain hostile creatures and require careful breath management when diving. However, the rewards are substantial, including skiff upgrade parts and rare weapons. Bring healing items and a melee weapon for close-quarters encounters, and consider exploring during the day cycle when enemy patrols are lighter.
How often do secret room loot respawn?
Most secret rooms respawn their loot on a timer ranging from two to six in-game days, depending on the location and the quality of the items. Skiff upgrade parts tend to have longer respawn timers, while basic supplies like ammunition and medkits reappear more quickly. This makes secret rooms viable for farming routes.
Can I fast travel between districts in The Sinking City 2?
There's no traditional fast travel, but collapsed seawall passages and rooftop routes create a network of shortcuts that effectively function as fast travel. Learning these connections lets you traverse Arkham much faster than sticking to the main streets, and certain secret rooms contain map tables that reveal nearby points of interest.
What is the best skiff upgrade to get first?
The reinforced hull is the priority—it doubles your skiff's health pool, letting you smash through collapsed seawall shortcuts without sinking. Grab the high-output motor second for faster escapes from Deep One ambushes near the fish market. Both upgrades make hunting boarded parlor caches far less punishing.