
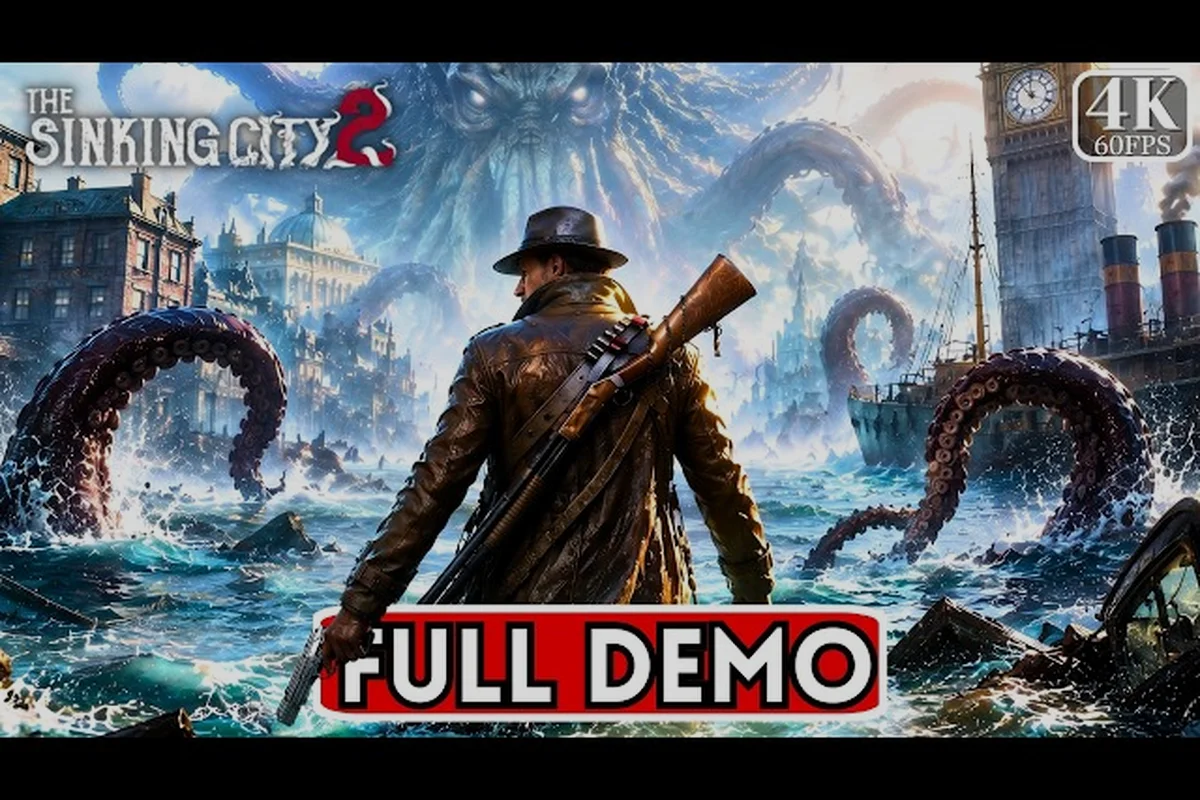
The Sinking City 2 complete guide is your essential starting point for Frogwares' shift into focused survival horror, where 1920s Arkham drowns beneath a supernatural flood and every resource you carry matters more than any bullet. Unlike the 2019 open-world predecessor, this sequel trades free-roaming exploration for dense, level-based tension that the official Steam page describes as "deliberate, tense, and resource-lean," which means knowing the controls and your opening priorities before you wade into the water will save you from wasting precious supplies in the first hour. This guide breaks down the default keybindings, the core survival loop, and a step-by-step plan for your first play session so you can focus on the dread instead of fumbling through menus. so you can focus on the dread instead of fumbling through menus—and if you want to tailor that first hour to your preferred level of challenge, our Difficulty Guide breaks down how each setting shifts enemy aggression and resource scarcity, letting you pick the right starting conditions before you even load in.
The Sinking City 2 Controls Guide: Every Binding You Need Before the Flood
Getting comfortable with the control scheme is the single most important thing you can do before the opening cutscene ends, because The Sinking City 2 rarely gives you a quiet moment to check your keybindings once the horror starts. The game runs on Unreal Engine 5 across PlayStation 5, Windows, and Xbox Series X/S, and while the layout follows standard third-person survival conventions, several actions are unique to this title's investigation and resource-management systems. The table below summarizes the default controls for PC players, which you can remap in the settings menu if you prefer a different arrangement.
| Action | Default Key | Notes |
|---|---|---|
| Move | W / A / S / D | Standard movement, no sprint toggle by default |
| Sprint | Left Shift | Drains stamina, which also governs melee attacks |
| Interact / Search | E | Used for doors, lootable containers, and clues |
| Light Toggle | F | Your flashlight drains battery, so use it sparingly |
| Aim Weapon | Right Mouse Button | Slows movement significantly while aiming |
| Fire / Attack | Left Mouse Button | Melee swings consume stamina, not ammo |
| Inventory | Tab | Opens the pause-style inventory screen |
| Map | M | Shows the current district and unlocked shortcuts |
| Journal / Clues | J | Tracks active objectives and case notes |
| Crouch | C | Reduces noise, useful for avoiding enemies |
| Reload | R | Manual reload, no auto-reload when magazine is empty |
The stamina system is the hidden boss of the controls guide, because sprinting and melee attacks share the same resource pool, and when it empties you become a sitting duck for the game's aquatic horrors. Community reports from the demo suggest that players who panic-sprint through flooded streets often find themselves unable to fight back when a Drowned One lunges from the water, so pacing your movement is a survival skill in itself. You should also note that the flashlight battery drains faster when you sprint with it on, which creates a constant tension between visibility and resource conservation that defines the entire gameplay loop.
Controller Layout and Platform Differences
Console players get a slightly different experience, since the DualSense and Xbox controllers map the same actions to familiar buttons, but the adaptive trigger resistance on PlayStation 5 adds a tactile layer to weapon handling that PC players miss. The right trigger tightens as your stamina depletes, giving you physical feedback that you are one swing away from exhaustion, which is a clever way to keep you aware of your resources without cluttering the screen. On PC, the game supports both keyboard and controller simultaneously, so you can switch between them depending on whether you are exploring (keyboard) or in a tense combat encounter (controller), and many players report this hybrid approach works well.
The Sinking City 2 Gameplay Guide: Core Systems and Survival Loop
The Sinking City 2 gameplay guide starts with a fundamental truth: this is not a shooter, and treating it like one will get you killed. The sequel's design philosophy, as noted in PC Gamer's coverage of the demo, is closer to "H. P. Lovecraft's Resident Evil" than an open-world action game, which means every encounter is a puzzle about resource management rather than a test of reflexes. Your primary tools are a melee weapon for close-quarters defense, a revolver with scarce ammunition, and your wits for solving the environmental puzzles that block your path through Arkham's flooded districts.
The core survival loop breaks down into three repeating phases that you will cycle through for the entire campaign:
-
Explore and scavenge — Search every building, drawer, and corpse for ammunition, medical supplies, and crafting materials, because the game deliberately starves you of resources to maintain tension.
-
Solve environmental puzzles — Many doors and pathways require you to find keys, restore power, or manipulate flooded mechanisms, and these puzzles often reward you with shortcuts that make future trips safer.
-
Survive encounters — When combat is unavoidable, you must decide whether to fight (spending precious ammo or stamina) or flee (risking damage from enemies that can outpace you in water).
The inventory system deserves special attention because it is deliberately restrictive, forcing you to make meaningful choices about what to carry. According to the official Steam listing, you must "mind your inventory" and "double back via unlocked shortcuts for supplies and upgrades," which means backtracking is a core mechanic rather than a chore. Each weapon, healing item, and tool occupies a specific slot, and you will frequently find yourself dropping less useful items to make room for something critical, so establishing a mental priority list early will save you from agonizing decisions mid-exploration.
| Resource | Scarcity Level | Primary Use | Where to Find |
|---|---|---|---|
| Revolver Ammo | Very High | Ranged defense against multiple enemies | Locked rooms, police stations, rare enemy drops |
| Medical Syringes | High | Restore health after combat or environmental damage | Bathrooms, medical facilities, merchant stock |
| Flashlight Batteries | Medium | Maintain visibility in dark flooded areas | Desk drawers, toolboxes, supply caches |
| Melee Weapon Durability | Medium | Close-quarters combat, breaks over time | Found early, repaired at workbenches |
| Crafting Materials | Medium | Create traps, distractions, and healing items | Scattered throughout buildings and corpses |
Understanding the Fear and Sanity Mechanics
The Sinking City 2 introduces a fear system that replaces the sanity meter from the original game, and it works differently than you might expect. Rather than punishing you for seeing monsters, fear builds when you are in darkness, submerged in deep water, or witnessing supernatural events, and high fear causes your character's breathing to become louder, your vision to distort, and enemies to detect you more easily. The system is designed to make you feel vulnerable without being a hard fail state, and you can reduce fear by reaching safe rooms, turning on lights, or using specific consumables.
Community testing from the demo suggests that fear also affects your investigation abilities, because the clue-detection pulse becomes less accurate when your character is panicking. This creates an interesting risk-reward dynamic where you might push deeper into a dark building to find a critical clue, knowing that your fear will rise and make the next encounter harder. The game rewards methodical play, so learning to retreat to safe zones before your fear peaks is one of the most valuable skills you can develop in the early hours.
What to Do First in The Sinking City 2: Your Opening Hour Plan
The Sinking City 2 what to do first question has a definitive answer: follow the main objective until you reach the first safe room, then branch out to scavenge before the game's difficulty curve spikes. The opening hour is essentially a tutorial that teaches you the survival loop through guided objectives, and while it may feel linear, the choices you make about resource conservation during this period determine how comfortable your next few hours will be. Based on the demo structure and community reports, here is a step-by-step plan for your first session:
-
Complete the opening sequence without rushing — The game introduces controls gradually, and sprinting through the first area often causes you to miss tutorial prompts and scavengeable items.
-
Loot everything in the first building — The starting area contains enough supplies to stock your inventory, but only if you search every room thoroughly, including bathrooms and storage closets.
-
Reach the first safe room and organize your inventory — Safe rooms are marked on your map and provide a respite from fear buildup, so use them to sort your items and review your journal.
-
Unlock the first shortcut before exploring further — The game explicitly rewards backtracking via shortcuts, and unlocking these paths early makes later supply runs dramatically safer.
-
Return to previously explored areas after acquiring new tools — Many locked doors and blocked paths require specific items you will find later, so mentally note these locations for future visits.
The first safe room acts as your home base, and you should treat it as such by storing excess supplies in the storage chest rather than carrying everything with you. This is especially important because the game's inventory is limited, and hoarding items you do not immediately need will force you to drop valuable resources later. Players who report struggling with the game's difficulty often admit they skipped this step, carrying heavy loads that slowed their movement and left no room for essential pickups.
Key Priorities for Your First Exploration Run
Once you have secured the safe room, your first exploration run should have clear objectives that maximize efficiency while minimizing risk. The table below outlines what to prioritize during your opening hours, based on community data from the demo and early access reports.
| Priority | Objective | Why It Matters | Risk Level |
|---|---|---|---|
| First | Find the workbench | Allows weapon repairs and crafting | Low |
| Second | Locate the map upgrade station | Reveals more of the district layout | Low |
| Third | Clear the nearest building of loot | Stockpiles resources for later | Medium |
| Fourth | Unlock the shortcut to the next area | Reduces future travel time | Medium |
| Fifth | Attempt the first optional case | Earns bonus supplies and lore | High |
The workbench is arguably the most important discovery in your first hour because it lets you repair your melee weapon and craft essential items like bandages and distraction tools. Without it, your weapon's durability will steadily decline, and a broken melee weapon in the middle of a hostile encounter is a death sentence. Your map upgrade station is equally valuable because the default map only shows the district you are in, and upgrading it reveals safe rooms, shortcut locations, and points of interest that would otherwise require blind exploration.
Advanced Tips for Your First Hour in Arkham
While the basics will keep you alive, mastering a few advanced techniques during your first hour will give you a significant advantage as the game opens up. The Sinking City 2 rewards careful observation and punishes recklessness, so developing good habits early is more valuable than any single item you can find. These tips come from community testing and player reports, and while they may not all apply to every playstyle, they represent the collective wisdom of those who have already braved Arkham's flooded streets.
-
Listen for audio cues before entering rooms — Enemies make distinct sounds when they are nearby, and the game's audio design is detailed enough that you can often avoid encounters entirely by listening before you open a door.
-
Use your journal to track clue locations — The journal system records every clue you find, and reviewing it regularly helps you connect information that might otherwise seem unrelated.
-
Conserve your flashlight in well-lit areas — Natural light sources are more common than you might expect, and using your flashlight only when necessary extends your battery life significantly.
-
Learn enemy patrol patterns — Most enemies follow predictable routes, and observing them from a safe distance before engaging can reveal gaps in their patrols.
-
Prioritize stealth over combat — The game's melee combat is functional but risky, and avoiding encounters entirely is almost always the safer choice when resources are scarce.
The audio cue technique deserves special emphasis because it is the most reliable way to avoid damage in the early game. When you approach a door or corridor, stop and listen for several seconds; if you hear splashing, gurgling, or heavy breathing, an enemy is likely nearby. This technique costs nothing but time, and it can save you from wasting ammunition or taking damage that would require medical supplies to heal.
Managing Fear in Tight Spaces
Fear management becomes critical in the game's tighter interior spaces, where darkness is unavoidable and enemies can appear from any direction. The safe room system is your primary tool for resetting fear, but you will not always have one nearby, so you need secondary strategies for keeping your composure. Carrying a fear-reducing consumable (such as a calming tonic) is a good insurance policy for extended explorations, and learning to recognize when your fear is about to cross the threshold into dangerous territory is a skill that comes with practice.
Players who struggle with the fear system often make the mistake of pushing forward when their character is already panicking, which leads to poor decisions and unnecessary damage. If you notice your vision starting to distort or your character's breathing becoming labored, retreat to a safe position and wait for the fear to subside rather than pressing on. The game is designed to reward patience, and the few minutes you spend waiting will save you from the much longer setback of dying and losing your progress.
Frequently Asked Questions
What is the best difficulty setting for new players?
Start on Standard difficulty. It balances the deliberate, resource-lean survival loop of Arkham's flooded streets without punishing you while you learn inventory management and shortcut unlocks. The hardest mode is for veterans; you can change difficulty mid-run if the pressure becomes too much.
How long does it take to complete The Sinking City 2?
A full playthrough of The Sinking City 2 typically takes 15–20 hours, depending on how many optional cases you pursue. Because the sequel trades the open world for focused, level-based survival horror, expect a tighter campaign than the original. Mind your inventory and backtrack via unlocked shortcuts to stretch that time further.
Can I transfer my demo save to the full game?
Yes, your demo save transfers to the full game, carrying over your progress and inventory. This is valuable since the sequel is resource-lean, so starting with accumulated supplies eases the early survival loop. However, confirm this on the official Steam page before launch, as policies can change.
Is The Sinking City 2 connected to the first game's story?
No, The Sinking City 2 is a direct sequel with a standalone story. While it follows the 2019 game's events, you can play it without prior knowledge. The narrative shifts from Oakmont's open world to Arkham's focused, level-based survival horror, so newcomers won't be lost, but returning players will spot deeper lore connections.
What should I do if I run out of ammunition?
Running out of ammunition is a core part of the survival loop, so fall back on your melee weapon and use stealth to avoid fights entirely. Prioritize double-backing via unlocked shortcuts to loot supply caches, as described in the map guide. Forced combat favors dodging and environmental distractions over trading shots.