
Enemies
The Sinking City 2 enemies guide — learn to beat The Slither, Deep Ones, and Shadows, plus boss tactics and when to fight, flee, or rearm in the drowned city.
Introduction
The Enemies hub is your field guide to the eldritch threats that stalk flooded Arkham in The Sinking City 2. Survival horror is defined by its adversaries, and Frogwares has drawn on the Cthulhu Mythos to populate the drowned city with creatures that demand respect — The Slither animating the dead, Deep Ones surging from dark water, and Shadows that bend space and disorient the eye. Understanding how each enemy behaves, what it is weak to, and when you should simply run is the difference between a smooth expedition and a wasted trip back to the last safe point. This category ranks the threats, explains their attack patterns, and gives you a clear decision framework for when to fight, flee, or rearm before returning better prepared.
Threat Level Quick Reference
| Enemy | Threat | Behavior | Counter |
|---|---|---|---|
| The Slither | B | Animates the dead into swarms | Shotgun at close range |
| Deep Ones | A | Fast, flanking amphibious stalkers | Heavy firepower, clear escape route |
| Shadows | C | Bend space, disorient | Ignore and reposition |
| Eldritch Horrors | S | Boss-tier empowered entities | Full resources or retreat |
Threat Roster
Eldritch Horrors
Boss-tier horrors and empowered entities that demand your full resource budget to defeat.
Deep Ones
Fast, flanking amphibious stalkers that surge from dark water and test your positioning.
The Slither
The undead animator — a mid-tier threat that turns dead bodies into pressing swarms.
Shadows
Space-bending entities that disorient the eye — more hazard than kill target.
Core Mechanics
Enemy design in The Sinking City 2 follows the classic survival horror philosophy: every creature is a problem to be solved with resources you do not have enough of. The Slither manipulates corpses, turning dead bodies into swarms that press you from multiple angles — the shotgun is the reliable answer, shredding clusters before they surround you. Deep Ones are amphibious stalkers that surge from dark water and flank aggressively, so the best counter is a clear escape route and heavy firepower committed at the right moment rather than panic fire. Shadows bend space and disorient the eye, but they are more avoidable than deadly once you understand their behavior — reposition and break line of sight rather than wasting ammunition. Boss-tier eldritch horrors demand your full resource budget or an honest retreat. The game is explicit about this: some fights are meant to be fled, rearmed for, and revisited later.
Advantages
Learning your enemies is the highest-value knowledge in The Sinking City 2 because it converts scarce ammunition into reliable kills. When you know that The Slither swarms are best shredded by a shotgun at close range, you stop wasting pistol rounds on moving targets and start clearing rooms efficiently. When you recognize Deep Ones as flankers that surge from water, you learn to control distance and pick your ground instead of being surprised every time. When you understand that Shadows are more disorienting than deadly, you stop burning ammunition on them entirely and simply reposition. A player who reads the threat board knows exactly which fights to take, which to slip past, and which to run from — and that judgement is what turns a resource-lean survival horror into a manageable one.
Challenges
The enemy roster of The Sinking City 2 punishes overconfidence, and no guide can fully prepare you for the moment a Deep One flank surprises you mid-loot. Some fights are designed to be unwinnable on a first visit — the game expects you to retreat, rearm, and return, which can feel frustrating if you are used to pushing through every encounter. Ammunition pressure means you cannot simply shoot your way past problems, and the more aggressive creatures, especially the boss-tier eldritch horrors, demand resources you may not have. Enemy behavior may also evolve with the flood and with difficulty settings, so a tactic that works early may need adjusting later. Our guides give you the framework, but survival still comes down to your own judgement in the moment.
FAQ
How do I beat The Slither?+
How do I deal with Deep Ones?+
Are Shadows worth fighting?+
Quick Tips
Learn to read a room before you enter it. If you see dark water ahead, assume Deep Ones are waiting and plan your engagement ground with an escape route behind you — the fights you win clean are the fights you set up in advance. Understanding a creature's behavior is worth more than any single weapon upgrade, because it lets you solve encounters with positioning instead of bullets.
Let the shotgun earn its keep against The Slither. Clusters of reanimated corpses fold fast to close-range pellets, and a melee finisher on a staggered enemy costs nothing — this combination clears rooms while barely touching your pistol ammunition. The game rewards players who treat every engagement as a decision rather than a reflex, and the extra second you spend reading the room is the second that saves the fight.
Treat retreat as a strategy, not a failure. When an encounter is burning your resources faster than it should, back out, rearm, and return. The game is designed around players who know when to fight and when to save their strength for a better position. Fighting on your terms, with an escape route and the right tool for the threat, turns the game's most terrifying encounters into manageable problems.
Boss-tier horrors are resource checks, not reaction tests. Before engaging, count your ammunition, healing, and escape route. If any one of the three is missing, the correct play is to leave and come back properly prepared. The horror is real, but the threat assessment is what keeps you alive; calm players who classify every enemy by threat level and counter rarely waste resources.
Featured
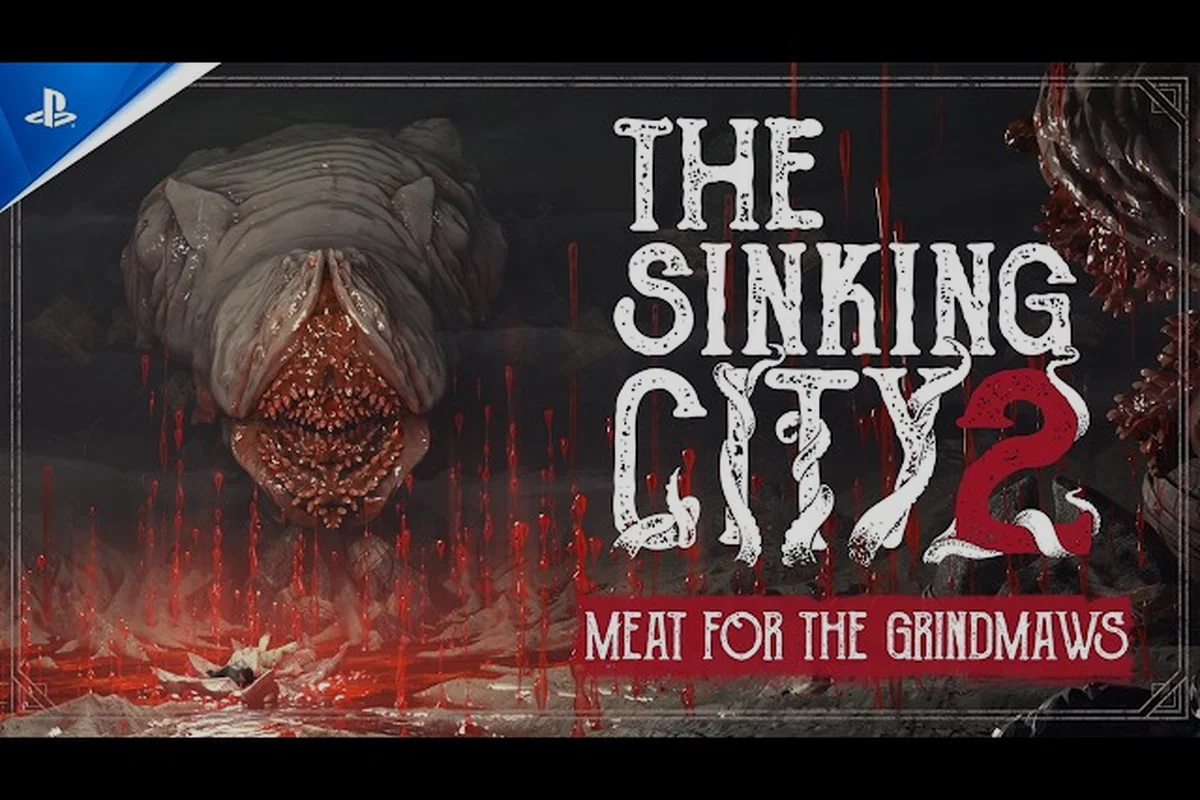
The Sinking City 2 first boss: behavior and how to escape
Prepare for The Sinking City 2 first boss with enemy AI behavior and escape tactics. Learn how the dead animate and when to run from this early threat.
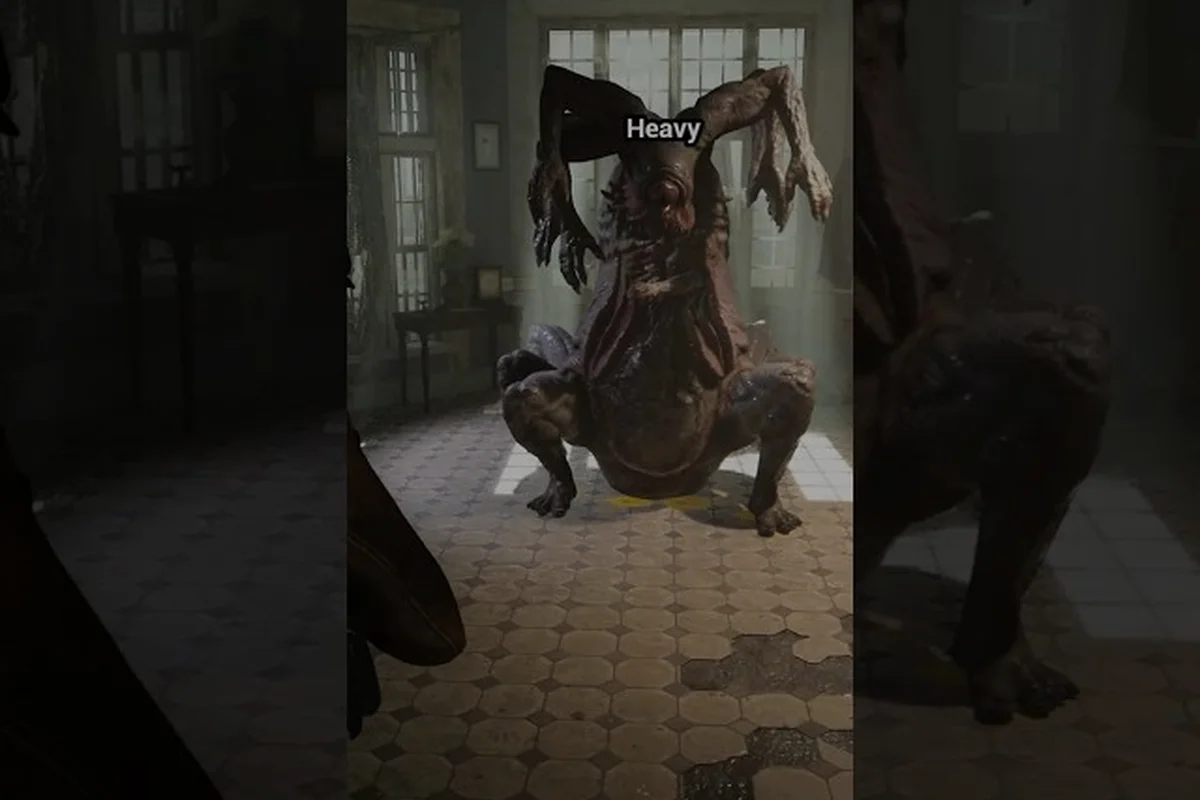
The Sinking City 2 enemies guide: Slither and Deep Ones
Meet the Slither, Deep Ones, and Shadows in The Sinking City 2 enemies guide, and learn where each foe appears and when to fight or flee across Arkham.
The Sinking City 2 stealth guide: avoid combat and survive
Master The Sinking City 2 stealth guide to slip past Slither and Shadows. Learn when hiding beats fighting and how to conserve ammo for unavoidable battles.
All Articles
The Sinking City 2 boss locations: spawns and how to avoid
Find The Sinking City 2 boss locations for Slither, Deep Ones, and Shadows. Learn spawn points and stealth routes to bypass the deadliest foes in Arkham.
The Sinking City 2 how to fight enemies: tactics that work
Discover The Sinking City 2 how to fight enemies with precise tactics for Slither, Deep Ones, and Shadows, plus when to retreat and rearm for deadlier fights.
The Sinking City 2 shadow creatures: lore and origin
Uncover the Lovecraftian origin of Arkham's shadow creatures. Learn how Slither animate the dead and why Shadows bend space in this mythos deep dive.
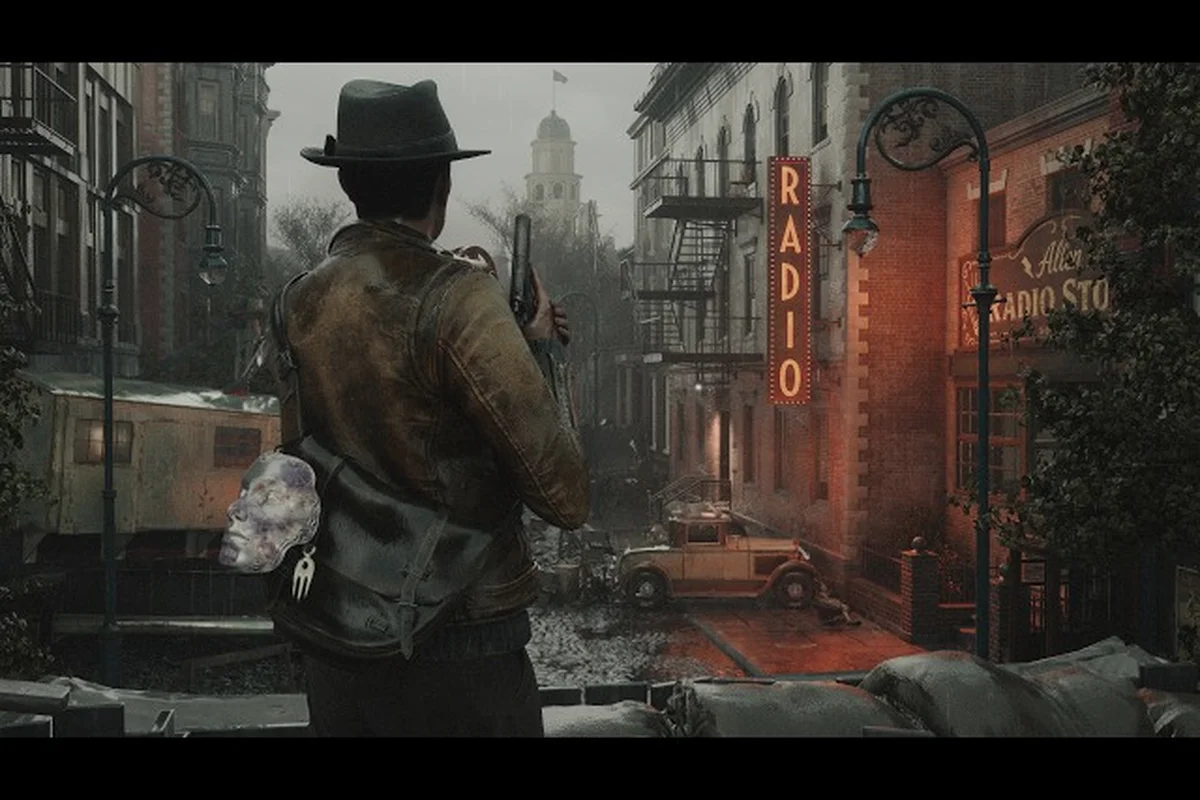
The Sinking City 2 horror creatures list: resistances
Browse every foe in The Sinking City 2 horror creatures list with resistances and stun tactics, and learn which weapons counter Slither, Deep Ones, and Shadows.