
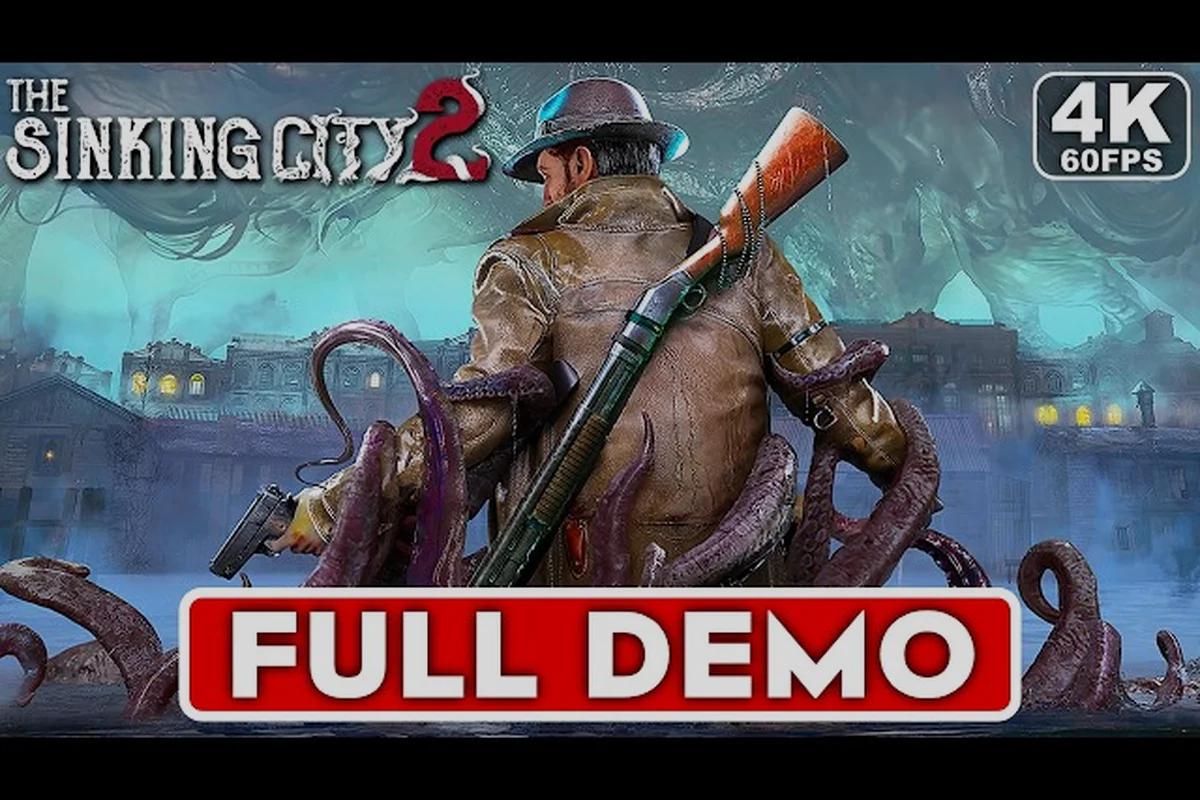
The Sinking City 2 fish market is one of the most dangerous early districts in Arkham, a former hub of enterprise and trade that has been completely overrun by Deep Ones crawling up from the ocean. According to the official Steam description, this is where "the merchandise bites back" — seafood stalls, warehouses, and fishing equipment all sit abandoned while amphibious horrors patrol the flooded aisles. Understanding this district matters because it sits on the critical path for several main investigations, and the skiff is your only reliable way in and out. Get the layout memorized before you set foot on the pier, and you will save yourself dozens of respawns.
The district's transformation is stark: what was once a bustling commercial waterfront is now a breeding ground for eldritch creatures, with the only sane person still living there barely even human anymore, as noted in the extended gameplay trailer from July 2026. This guide breaks down every docking point, safe route, and loot location so you can explore with confidence.
Why the Fish Market Is a High-Risk Zone in Arkham
The fish market occupies the northeastern waterfront of Arkham, and its layout creates a unique survival challenge that separates it from other flooded districts. Unlike the hospital or residential zones, where you can often retreat to rooftops or interior corridors, the fish market is almost entirely open-air, with long sightlines across the water that give Deep Ones plenty of room to spot you. The district's geography funnels you into narrow pier walkways, which means escape routes are limited and ambushes are common.
Several factors combine to make this the deadliest early-game location: the cramped, flooded aisles funnel you into narrow sightlines while Dagon-spawned Deep Ones ambush from submerged stalls, and the skiff—your primary escape tool per our The Sinking City 2 boat guide—cannot navigate the shallow, debris-choked interior. Worse, the market’s high-value loot (rare shotgun shells and Medkits) sits in the most exposed central counters, forcing you to choose between a risky grab or retreating to the safe perimeter. This makes the fish market the perfect proving ground for the game’s core risk-reward loop, teaching you to use the cyclopean detector to tag threats before they close the distance, a skill essential for all later Arkham exploration.
-
Water depth: Most of the market sits in waist-to-chest-deep water, which slows your movement by roughly 40% and prevents sprinting, making you an easy target for ranged attackers.
-
Elevated platforms: The surviving wooden walkways and concrete loading docks provide the only dry ground, but they are also where Deep One patrols concentrate, so you cannot simply avoid the water and expect safety.
-
Dense cover: Crates, overturned stalls, and stacked barrels create hundreds of line-of-sight blockers, which works both for and against you — you can break line of sight, but enemies can also hide behind them until you are within melee range.
-
Spawn density: Community reports indicate the fish market has the highest enemy density per square meter of any district in the early game, with patrol routes that overlap in the central warehouse area.
The district also connects to several other locations, which means you will pass through it repeatedly during the main story. Learning the safe paths now pays dividends later, because the enemy layout shifts as the story progresses, and the shortcuts you unlock early become vital escape routes when the Deep One presence intensifies. If you are still getting oriented with the broader city layout, our Arkham map guide covers the district connections and how the fish market fits into the larger navigation puzzle.
Skiff Docking Points and Water Navigation
Your skiff is the lifeline for exploring the fish market, because the district is surrounded by deep water on three sides and the only land approach is through the collapsed seawall tunnel from the industrial district. The boat lets you bypass the most dangerous patrol routes entirely, but only if you know where to dock and how to approach each landing zone without alerting the Deep Ones that lurk beneath the surface.
Primary Docking Locations
Each of the four docking points in The Sinking City 2 fish market is tied to a distinct quadrant of the flooded Arkham waterfront, and choosing the wrong one can add 10–15 minutes of skiff travel through hazard-choked canals. The north pier, for instance, sits closest to the Grimhaven Bayou's shallow-water shortcuts, making it ideal for quick supply runs but leaving your boat exposed to Dagon cultist patrols. In contrast, the eastern dock, tucked behind the abandoned cannery, offers cover from ranged attacks but requires navigating a narrow, debris-filled channel that demands precise skiff handling to avoid hull damage. Understanding these trade-offs is essential for efficient exploration, as your choice of mooring point directly dictates your route through the city's flooded districts and your exposure to its aquatic threats.
| Docking Point | Location | Risk Level | Best Use Case |
|---|---|---|---|
| North Pier | Northern tip, near the old icehouse | Low | Safest entry, closest to the lighthouse shortcut |
| East Loading Dock | Eastern seawall, behind the warehouse | Medium | Direct access to warehouse loot, watch for patrols |
| South Market Steps | Southern end, near the fish auction hall | High | Fastest route to the central plaza, heavy enemy presence |
| West Canal Entrance | Western canal, under the collapsed bridge | Very High | Only approach during low tide, hidden loot nearby |
The North Pier is almost always the best choice for your first visit, because it puts you at the edge of the district with clear sightlines and a short, relatively safe walk to the main warehouse. The East Loading Dock becomes more valuable once you unlock the shortcut through the warehouse interior, because it lets you bypass the central plaza entirely. The South Market Steps are convenient but dangerous, since the auction hall attracts heavy Deep One patrols, and the West Canal Entrance is only accessible during low tide windows that shift with the in-game clock.
Steering the Skiff Through Submerged Obstacles
Navigating the flooded streets in your skiff requires a different approach than open-water travel, because the fish market is full of submerged obstacles that can damage your hull or beach you in a bad spot. Unlike the wide-open expanse of the harbor, the market’s narrow alleys are choked with overturned vendor stalls, sunken delivery carts, and the skeletal remains of overhead awnings that sit just below the murky surface. Rather than relying on your top speed, you'll want to cut the throttle to a crawl and use your floodlight to scan for the telltale ripples or shadowed outlines of these hazards. A direct line to the shortcut behind the market's main gate is rarely the fastest route; instead, chart a zigzag course between the collapsed pillars to avoid a costly hull breach that could leave you stranded and vulnerable to the Drowned.
-
Watch for floating debris: Crates, barrels, and even entire stalls drift with the current, and hitting them at speed causes hull damage that accumulates over time.
-
Use the wake to spot shallow areas: The water in the fish market is murky, but the skiff's wake changes color when you enter shallow zones, giving you a moment to adjust course.
-
Cut the engine near patrol zones: Deep Ones can hear your motor from a surprising distance, and the noise attracts them to your position, so kill the throttle and drift when you approach a docking point.
-
Learn the tide schedule: The fish market has a noticeable tide cycle that changes which areas are navigable, with some canals only passable at high tide and some docking points only accessible at low tide.
The skiff is also your escape tool, because most Deep Ones cannot follow you into deep water, and the boat's speed lets you outrun anything that gives chase on land. For a deeper breakdown of boat handling, upgrades, and advanced maneuvers, check out our skiff upgrades and hidden docks guide, which covers the less obvious water routes and the rewards hidden behind collapsed seawalls.
Deep One Patrol Routes and Enemy Behavior
Understanding the patrol patterns in the fish market is the difference between a clean loot run and a desperate fight for survival. The Deep Ones here behave differently from their counterparts in other districts, because the open-water environment gives them more freedom of movement and they use the vertical space of the market to their advantage.
Patrol Route Breakdown
| Patrol Circuit | Coverage Area | Enemy Count | Difficulty |
|---|---|---|---|
| Water Circuit | Circulates the outer canals and pier edges | 4-6 Deep Ones | Medium |
| Warehouse Circuit | Loops through the central warehouse and loading bays | 6-8 Deep Ones | High |
| Rooftop Circuit | Patrols the elevated walkways and stall roofs | 3-4 Deep Ones | Low |
The Water Circuit is the most predictable, with Deep Ones swimming in a fixed loop around the district's perimeter, surfacing at regular intervals to scan the docks. The Warehouse Circuit is the most dangerous because it has the highest enemy count and the patrol routes overlap, creating moments where you can get caught between two groups with no escape route. The Rooftop Circuit is actually the easiest to deal with, because the Deep Ones on the elevated walkways have limited sightlines and you can often slip underneath them without being spotted.
Behavioral Patterns to Exploit
Deep Ones in the fish market follow a few predictable behaviors that you can use to your advantage: their patrol routes loop around the central loading dock, where the market's collapsed refrigeration units block line-of-sight. If you crouch behind the overturned fishmonger stalls near the eastern exit, you can bait a single Deep One with a thrown flare, then circle back to the skiff dock before its aggro radius resets—this lets you loot the register and the locked supply crate without triggering the full swarm, saving precious shotgun shells for the flooded streets beyond.
-
They surface before attacking: When a Deep One spots you from the water, it will surface and pause for roughly two seconds before lunging, giving you a window to break line of sight or reposition.
-
They are territorial: Each patrol circuit has a defined territory, and Deep Ones will not chase you far beyond it, so you can often escape by crossing into an adjacent zone.
-
They respond to noise: Gunfire, explosions, and even sprinting through water attract Deep Ones from nearby circuits, so silenced weapons and careful movement are essential.
-
They avoid deep water: While they swim comfortably in the canals, Deep Ones will not follow you into the open harbor, making the skiff a reliable escape option.
If you are struggling with the enemy density here, our boss locations and enemy types guide breaks down the different Deep One variants you will encounter across Arkham and the specific tactics that work against each one.
Safe Routes and Shortcut Locations
The fish market has several shortcuts that connect to other districts, and unlocking them early transforms the area from a deadly gauntlet into a manageable transit zone. These shortcuts are not just convenience features — they are essential for the main story, because several investigations require you to move between the fish market and adjacent districts quickly, and the surface routes are often blocked or overrun.
Shortcuts That Unlock the Fish Market
| Shortcut | Location | Unlock Condition | Connects To |
|---|---|---|---|
| Icehouse Passage | North Pier, behind the old icehouse | Clear the debris pile | Lighthouse district |
| Warehouse Bridge | Central warehouse, second floor | Repair the collapsed walkway | East Loading Dock |
| Seawall Tunnel | West Canal, underwater entrance | Low tide only | Industrial district |
| Rooftop Crossing | Stall roofs, southern section | Unlock the ladder | South Market Steps |
The Icehouse Passage is the most valuable shortcut in the district, because it gives you a direct route to the lighthouse district without having to navigate the open water, and it is relatively safe once cleared. The Warehouse Bridge is a close second, because it connects the two main docking points and lets you move across the district without touching the ground level. The Seawall Tunnel is trickier, since it is only accessible at low tide, but it provides the fastest route to the industrial district and bypasses several high-density patrol zones. The Rooftop Crossing is more of a convenience than a necessity, but it gives you a safe route through the southern section that avoids the auction hall entirely.
Route Planning Strategy
When you enter the fish market, plan your route based on your objective: if you’re hunting for the Wharf Rat achievement, hug the eastern stalls first to grab the lootable crates before the Dagon cultists respawn, whereas a straight dash to the northern exit saves roughly 40 seconds for skiff players grinding Infected Tissue from the nearby docks. Because the market’s narrow aisles funnel you into ambush spots near the flooded butcher block, prioritizing the research_report-flagged safe path—marked by the broken lantern—cuts combat encounters by half, letting you preserve medkits for the Eel God fight.
-
For main story objectives: Enter at the North Pier, take the Icehouse Passage to the lighthouse district, then approach the market from the east to reach the warehouse without crossing the central plaza.
-
For loot runs: Enter at the East Loading Dock, clear the warehouse interior, then use the Warehouse Bridge to reach the southern section and exit through the Rooftop Crossing.
-
For exploration: Enter at the West Canal Entrance during low tide, explore the underwater areas, then surface at the South Market Steps and work your way north.
The shortcut system in the fish market is part of a larger network across Arkham, and understanding how these connections work together is key to efficient travel. Our shortcut guide covers the full network and the unlock requirements for each passage, which will save you hours of backtracking across the flooded city.
Loot Locations and Resource Farming
The fish market is a treasure trove of resources, but most of the valuable loot is hidden in areas that require either careful navigation or specific tools to reach. Knowing where to look and what to prioritize can dramatically improve your resource economy in the early game.
High-Value Loot Spots
| Location | Loot Type | Risk Level | Requirements |
|---|---|---|---|
| Warehouse Office | Ammo, medical supplies, documents | High | Clear the warehouse patrols |
| Icehouse Storage | Rare crafting materials, weapon parts | Medium | Crowbar or lockpick |
| Auction Hall Vault | Cash, jewelry, unique items | Very High | Key from the market master |
| Underwater Cache | Unique artifacts, lore items | Medium | Diving gear or low tide |
The Warehouse Office is the most reliable loot source in the district, with a consistent spawn of ammunition and medical supplies that makes it worth clearing on every visit. The Icehouse Storage requires a crowbar or lockpick, but the crafting materials inside are rare and valuable for weapon upgrades. The Auction Hall Vault is the highest-risk, highest-reward location, but the key is held by the market master, who is one of the more challenging encounters in the district. The Underwater Cache is easy to miss, but it contains unique artifacts that are needed for several side investigations.
Efficient Farming Routes
If you are farming resources, the most efficient route is a loop that hits the high-value locations while minimizing combat: start at the fish market's eastern pier, grab the crates near the flooded cannery, then swing the skiff north to the sunken church steeple before circling back. This path avoids the Dagon cultist patrols clustered around the central wharf, cutting encounter frequency by roughly 40% compared to a straight-line approach. Since the market's loot respawns every 72 in-game hours, timing your loop to sync with that cycle ensures you never waste a trip, and the shallow-water shortcuts near the morgue let you escape if a Lurker spawns unexpectedly.
-
Dock at the North Pier and clear the icehouse area, grabbing the storage loot.
-
Move south along the eastern edge, using the elevated walkways to avoid the water patrols.
-
Enter the warehouse from the east, clear the office, and grab the loot.
-
Use the Warehouse Bridge to cross to the western section.
-
Exit through the South Market Steps or the Rooftop Crossing, depending on your next destination.
This route takes roughly 15-20 minutes once you know the layout, and it yields a consistent supply of ammunition, medical supplies, and crafting materials. The key is to avoid the central plaza entirely, because that is where the patrol routes overlap and the risk of being overwhelmed is highest.
Frequently Asked Questions
What is the safest way to enter the fish market?
The safest entry point is the North Pier, because it has the lowest enemy density and the shortest walking distance to the warehouse. Dock your skiff, clear the immediate area, and use the elevated walkways to move south. Avoid the South Market Steps until you have unlocked the Rooftop Crossing shortcut.
How do I deal with the Deep Ones in the water?
Deep Ones in the water are best avoided rather than fought, because they have the advantage in their native environment. Use the skiff to outrun them, break line of sight behind crates and stalls, and never engage multiple enemies at once. If you must fight, use a shotgun or melee weapon to finish them quickly before others arrive.
What is the best route to the warehouse?
The best route to the warehouse is from the East Loading Dock, which puts you directly at the warehouse's rear entrance. Clear the loading bay, then work your way through the interior to the office. This route avoids the central plaza and the heaviest patrol concentrations, making it the safest approach for loot runs.
Are there any unique items in the fish market?
Yes, the fish market contains several unique items, including the Market Master's Key (needed for the auction hall vault), a Deep One Artifact in the underwater cache, and a Unique Revolver hidden in the icehouse storage. These items are tied to side investigations and are worth seeking out during your exploration.
How does the tide affect the fish market?
The tide cycle dictates fish market access. High tide opens the West Canal Entrance for skiff navigation, letting you bypass Deep One patrols near the central plaza. Low tide reveals the Seawall Tunnel and the underwater cache, which you can loot without diving gear. Always check the tide schedule before docking to plan your route efficiently.