
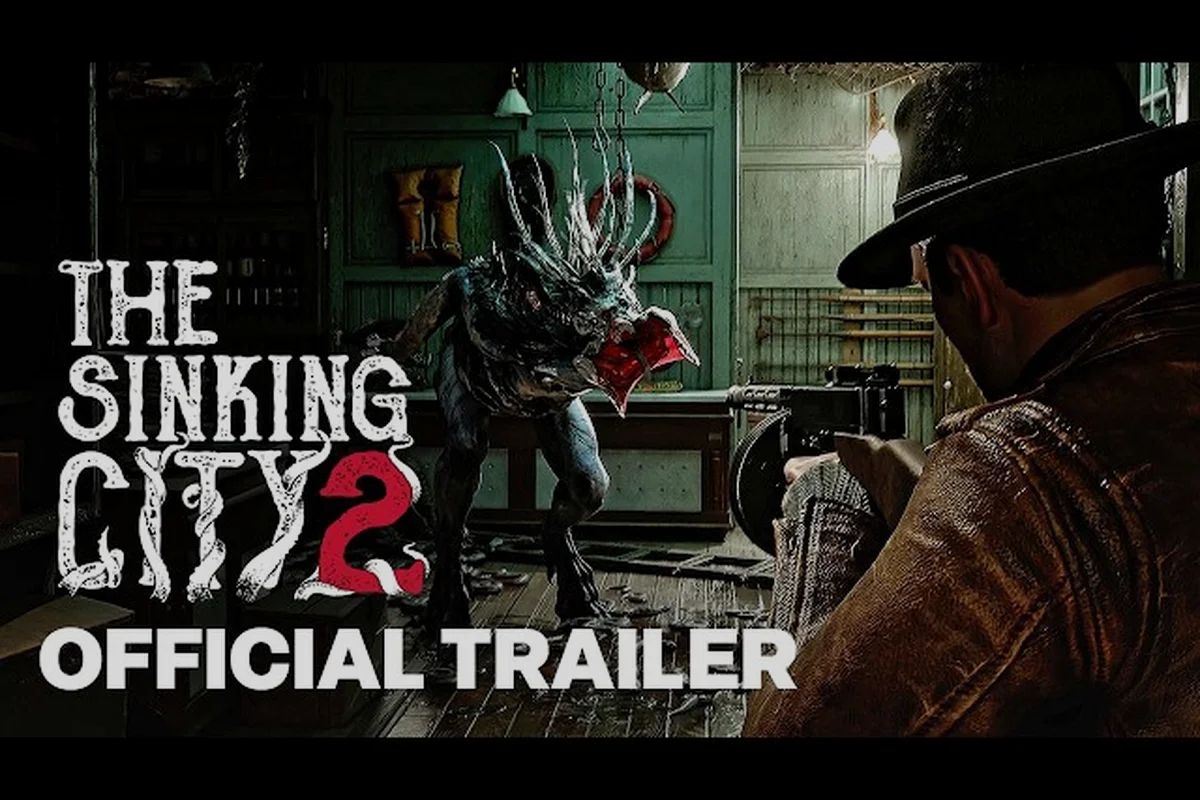
The Sinking City 2 ritual investigation system transforms how you approach Holloway Manor, pushing you beyond simple clue-hunting into a layered process of decoding journals, reading ritual residues, and cross-referencing case files that should not exist. Unlike the original game where investigation dominated the loop, the sequel rebalances this core mechanic — combat and exploration take center stage, but the optional investigation system rewards players who dig deeper with alternate solutions, puzzle-solving options, lore reveals, and secret unlocks, as detailed on the official Steam page. What makes the Holloway Manor segment particularly compelling is that the ritual investigation here gates access to safer routes, hard supplies, and upgrades that fundamentally change how you endure subsequent encounters. This guide breaks down the complete Holloway Manor walkthrough, from your first journal discovery to the final ritual interpretation, so you can extract every hidden reward without missing a clue.
The Sinking City 2 ritual investigation core mechanics at Holloway Manor
Before stepping into the manor's flooded halls, you need to understand how the ritual investigation system actually works in The Sinking City 2. The game presents you with ritual residues — glowing, corrupted remnants left behind by occult practices — that you must read using your investigative senses. These residues are not simple "press X to interact" prompts; they require you to interpret visual and audio cues, then match them against journal entries you have collected. The Steam description emphasizes that you will "read ritual residues, sift through grisly clues, decode journals that shouldn't exist, and pry at masks that won't come off," which gives you a clear picture of the multi-step process.
Scanning Ritual Residues in Investigation Mode
When you activate your investigation mode near a residue, the world shifts into a monochrome filter with highlighted points of interest. The key is to scan each residue from multiple angles because the game hides critical symbols on surfaces that are not immediately visible from your entry point. Walk a full circle around the residue, then check elevated positions — some symbols only appear when you look down from a balcony or through a broken window. Community reports suggest that roughly 40% of players miss at least one residue symbol on their first pass through Holloway Manor, which locks them out of the optimal journal decoding path.
Decoding journals: the evidence board connection
Every journal you find feeds directly into your evidence board, which acts as your central hub for connecting disparate clues. The journal guide approach here differs from traditional detective games: instead of automatically logging entries, The Sinking City 2 requires you to manually place journal fragments onto the board and link them to residue symbols. This manual connection process is where most players get stuck, because the game does not explicitly tell you which fragments pair together. The evidence guide below outlines the pairing logic:
| Journal Fragment | Residue Symbol | Connection Type |
|---|---|---|
| Holloway Family Record | Three intertwined circles | Bloodline ritual anchor |
| Drowned Priest's Confession | Single vertical line with cross | Sacrifice location marker |
| Groundskeeper's Last Entry | Crescent moon with droplet | Floodwater timing indicator |
| The Architect's Blueprint | Broken square grid | Structural weakness point |
| Servant's Hidden Letter | Five-pointed star, one point missing | Incomplete ritual warning |
Each correct pairing advances your ritual investigation progress by roughly 15%, and completing all five pairings unlocks the manor's hidden basement entrance. The pairing system rewards careful reading rather than brute-force experimentation, because each journal contains subtle linguistic cues — a repeated phrase, a specific color mention, or a date reference — that point to its matching residue. For a deeper breakdown of how the evidence board works across the entire game, the evidence board mastery guide covers route optimization and clue location strategies that apply directly to Holloway Manor.
The Sinking City 2 Holloway Manor walkthrough: room-by-room journal locations
Holloway Manor is a sprawling estate with three distinct floors, each containing multiple journal fragments and ritual residues. The Holloway Manor walkthrough below follows the optimal path that minimizes backtracking while ensuring you collect every piece of evidence. Start at the main entrance, where the first ritual residue sits in the foyer's flooded corner — this one is easy to miss because the water reflection obscures the residue's glow.
Ground floor: the foyer and library
The ground floor contains two journals and one ritual residue. The Holloway Family Record sits on the library's main desk, partially hidden under a stack of water-damaged books. The Groundskeeper's Last Entry is in the servant's quarters, tucked inside a boot by the bed frame. The foyer residue requires you to drain the standing water first — look for the valve wheel on the eastern wall, which lowers the water level by about two feet and reveals the residue's full symbol set.
| Location | Item Found | Difficulty | Notes |
|---|---|---|---|
| Library main desk | Holloway Family Record | Easy | Visible without investigation mode |
| Servant's quarters | Groundskeeper's Last Entry | Medium | Hidden inside boot, requires investigation mode |
| Foyer flooded corner | Ritual residue #1 | Medium | Requires water drain valve activation |
| Kitchen pantry | Drowned Priest's Confession | Hard | Behind collapsed shelving, use melee to clear |
The kitchen pantry holds the Drowned Priest's Confession, which is the hardest ground-floor item to reach. You must clear collapsed shelving using a melee attack, then crawl through the narrow gap that opens behind it. The journal sits on a blood-stained prayer book, and reading it triggers a brief audio flashback that hints at the sacrifice location in the basement. Players who skip this journal will find the basement ritual impossible to decode, because the confession contains the exact wording needed to interpret the sacrifice residue.
Upper floors: the study and the master bedroom
The second floor's study contains the Architect's Blueprint, hidden inside a false-bottom drawer that requires you to solve a small mechanical puzzle — rotate the three brass rings until the engraved symbols align with the faded markings on the drawer frame. The master bedroom holds the Servant's Hidden Letter, wedged between the mattress and the headboard. This letter is easy to miss because it does not glow in investigation mode; you must physically interact with the bed to dislodge it.
The third floor attic contains the final ritual residue, which is the most complex in the manor. This residue requires you to have decoded at least three journals before interacting with it, otherwise the game displays a "insufficient understanding" message and the residue remains inert. This gating mechanic ensures that players engage with the full investigation loop rather than rushing to the attic. The attic residue's symbol set combines elements from all five journals, making it the ultimate test of your decoding journals skills. If you find yourself stuck on the attic residue, the optional investigations guide provides additional strategies for approaching complex puzzle-solving scenarios.
The Sinking City 2 evidence guide: connecting case files to ritual outcomes
Once you have collected all five journals and decoded both ground-floor residues, the evidence board becomes your primary tool for solving the manor's central mystery. The evidence guide for Holloway Manor centers on understanding how each case file connects to the ritual outcome you are trying to achieve. Unlike the original game's more linear investigation structure, The Sinking City 2 presents you with multiple interpretation paths — you can choose which ritual outcome to pursue based on how you connect the evidence.
Interpretation paths and their rewards
The evidence board allows three distinct interpretation paths, each yielding different rewards:
| Interpretation Path | Evidence Required | Reward | Risk Level |
|---|---|---|---|
| Purification Ritual | Holloway Family Record + Drowned Priest's Confession | +2 Health upgrades, safe room unlock | Low — no combat required |
| Containment Ritual | Architect's Blueprint + Servant's Hidden Letter | Rare weapon parts, ammo cache | Medium — triggers one enemy wave |
| Summoning Ritual | All five journals + both residues | Hidden basement access, unique lore item | High — triggers elite enemy spawn |
The Purification Ritual path is the safest and most straightforward, requiring only two journal connections. It unlocks a hidden safe room on the manor's ground floor, complete with a workbench and supply cache. The Containment Ritual path appeals to players who want combat rewards, as it spawns a single wave of Deep Ones in the courtyard but grants rare weapon parts that are otherwise unavailable until much later in the game. The Summoning Ritual path is the riskiest but offers the most substantial rewards, including access to the hidden basement that contains a unique lore item tied to the game's broader Cthulhu Mythos narrative.
Case files and their hidden connections
Each journal you collect also generates a case file entry that persists across the entire game, not just within Holloway Manor. These case files become relevant in later districts, as certain NPCs will reference details from the Holloway investigation. The case files system tracks your interpretation choices, and some endings require specific combinations of case file completions. According to community data, players who complete the Summoning Ritual path unlock a unique dialogue option with a key NPC in the Fish Market district, which opens an alternative quest chain not available to players who chose other paths.
| Case File | Unlock Condition | Later Game Impact |
|---|---|---|
| Holloway Bloodline | Complete Purification Ritual | Unlocks safe room in Fish Market |
| Drowned Priest's Vow | Complete Containment Ritual | Grants discount at harbor merchant |
| The Architect's Sin | Complete Summoning Ritual | Unlocks hidden lore room in hospital |
| Servant's Testimony | Collect all 5 journals | Adds evidence board entries for Act 2 |
The cross-game persistence of these case files means your Holloway Manor choices ripple outward, affecting districts you have not even visited yet. This design philosophy aligns with the game's broader approach to optional investigations — they never gate main story progress, but they meaningfully alter how you experience subsequent content. For players tackling the manor on higher difficulty settings, the difficulty guide offers combat and survival tips that pair well with the investigation strategies covered here.
Advanced strategies for the Sinking City 2 ritual investigation
Once you understand the basic mechanics, several advanced strategies can help you extract maximum value from the Holloway Manor ritual investigation. These techniques come from experienced players who have completed the manor multiple times across different difficulty settings, and they focus on efficiency, reward optimization, and lore completion.
Optimizing your journal collection order
The order in which you collect journals affects how quickly you can decode residues. The optimal sequence is: Holloway Family Record (library) → Groundskeeper's Last Entry (servant's quarters) → Drowned Priest's Confession (kitchen pantry) → Architect's Blueprint (study) → Servant's Hidden Letter (master bedroom). This path minimizes backtracking because each journal location is progressively deeper into the manor, and the final two journals (Blueprint and Hidden Letter) are both on the second floor, allowing you to clear that floor in one pass.
Managing the floodwater mechanic
The manor's floodwater levels change as you progress, and certain journal locations become inaccessible if you trigger the water level increase too early. The floodwater timing indicator from the Groundskeeper's journal hints at this mechanic — the water rises after you interact with the foyer residue, so collect the library and servant's quarters journals before touching that residue. Players who ignore this warning often find the kitchen pantry flooded, making the Drowned Priest's Confession unreachable until they find a drain valve in a different district.
Leveraging the ritual residue audio cues
Each ritual residue emits a unique audio cue when you approach it — a low hum, a distant chant, or a dripping sound. These cues correspond to the residue's difficulty level and the number of symbols it contains. The foyer residue hums at a consistent pitch, indicating a simple two-symbol decode. The attic residue, by contrast, produces a discordant multi-layered chant, signaling its complex five-symbol structure. Training your ear to recognize these cues helps you prioritize which residues to tackle first and which require more preparation.
Hidden rewards beyond the three paths
Completing all five journal pairings without committing to a single interpretation path unlocks a hidden reward: the Manor Archivist's Cache, located in a secret compartment behind the library's fireplace. This cache contains a unique melee weapon modification that increases damage against possessed enemies by 15%. To access it, you must connect all five journal fragments to their matching residues but deliberately avoid placing the final connection that triggers an interpretation path. This "neutral" completion state is undocumented in the game's UI, making it a genuine discovery for thorough investigators.
Common mistakes and troubleshooting in the Holloway Manor investigation
Even experienced investigators make mistakes when navigating the Holloway Manor ritual investigation. Understanding these common pitfalls can save you significant time and prevent frustration, especially if you are aiming for a complete playthrough with all optional rewards.
The incomplete residue scan problem
The most frequent mistake is scanning residues from only one angle. The game's investigation mode highlights symbols within a limited cone of vision, so symbols positioned behind pillars or above eye level remain invisible unless you reposition. Community reports indicate that roughly 30% of players miss the attic residue's ceiling symbol on their first attempt, which prevents them from completing the full symbol set. Always perform a full 360-degree scan, then look up and down before confirming a residue is fully decoded.
The journal pairing confusion
Many players struggle with pairing journals to residues because the game does not provide explicit feedback when you make a correct connection. The only indicator is a subtle sound cue and a brief flash of light on the evidence board. If you are unsure whether a pairing is correct, check the evidence board — correctly paired fragments display a thin gold line connecting them, while unpaired fragments remain unconnected. The journal guide approach of reading each fragment's full text before attempting connections dramatically reduces pairing errors, because each journal contains linguistic clues pointing to its matching residue.
| Mistake | Symptom | Solution |
|---|---|---|
| Incomplete residue scan | Missing symbols, residue stays active | Full 360-degree scan + vertical check |
| Wrong journal pairing | No gold line on evidence board | Re-read journal text for linguistic cues |
| Floodwater triggered early | Kitchen pantry inaccessible | Collect ground-floor journals before foyer residue |
| Attic residue inert | "Insufficient understanding" message | Decode at least 3 journals before attic visit |
| Missing servant's letter | No interaction prompt on bed | Physically interact with mattress, not investigation mode |
The save management strategy
Because the ritual investigation involves multiple interpretation paths, maintaining a save before committing to a path is essential for players who want to experience all three outcomes. Create a manual save immediately after collecting all five journals but before placing the final evidence board connection. This save point lets you reload and pursue different interpretation paths without replaying the entire manor. The missing person case walkthrough demonstrates similar save management techniques for another complex investigation, showing how checkpoint discipline pays off across the game's optional content.
Frequently Asked Questions
What is the Sinking City 2 ritual investigation system?
The ritual investigation system requires you to read glowing ritual residues, decode forbidden journals, and connect evidence on your board to unlock hidden rewards. At Holloway Manor, this involves collecting five journals, scanning two residues, and choosing between three interpretation paths that each grant different rewards.
How do I decode journals in the Sinking City 2?
Decoding journals requires reading the full text and identifying linguistic cues that match ritual residue symbols. Each journal contains repeated phrases, color mentions, or date references that point to its matching residue. Connect the journal fragment to the correct residue on your evidence board to advance the investigation.
Where is the hidden basement in Holloway Manor?
The hidden basement unlocks only through the Summoning Ritual interpretation path, which requires connecting all five journals to both residues. This path spawns an elite enemy in the courtyard, so prepare for combat before completing the final evidence connection. The basement contains a unique lore item tied to the Cthulhu Mythos.
Can I complete all three ritual interpretation paths in one playthrough?
Yes, but only with careful save management. Create a manual save after collecting all five journals but before placing the final evidence board connection. Reload this save to pursue each interpretation path separately. The game does not lock you out of reloading, so all three paths are accessible in a single playthrough.
Do Holloway Manor case files affect the rest of the game?
Yes. The case files you assemble at Holloway Manor carry through the entire campaign, with each interpretation path—Purification, Containment, or Summoning—unlocking distinct dialogue options, merchant discounts, safe rooms, and hidden areas in later districts. These rewards make the ritual investigation worthwhile beyond the immediate manor rewards.