
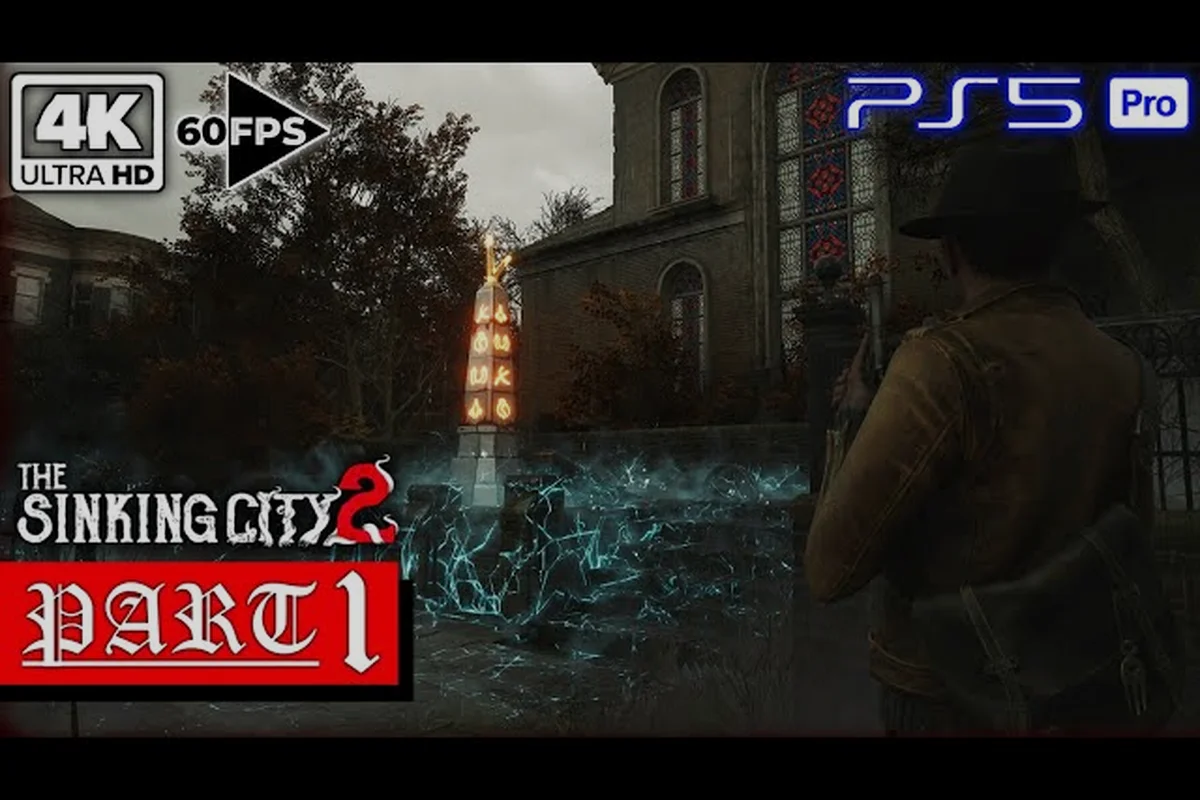
The Sinking City 2 missing person case is one of the most demanding optional investigations in Frogwares' flooded Arkham, and it rewards players who commit to thorough clue work rather than rushing through combat encounters. This case stands apart because it forces you to decode ritual residue, interpret journal fragments, and make judgment calls that shape both your rewards and your understanding of the city's deeper corruption. If you are stuck on the safe puzzle, the evidence board, or the final confrontation, this walkthrough breaks down every step with the exact mechanics you need to finish cleanly.
The investigation system in The Sinking City 2 de-emphasizes hand-holding compared to the original game, which means optional cases like this one demand patience and careful reading of environmental details. According to the official Steam page, optional cases never gate main story progress, but they unlock safer routes, hard supplies, and upgrades that meaningfully change how you endure future encounters. That makes the missing person case a high-value target for anyone planning a full playthrough, especially if you want access to every shortcut and crafting tier before the later districts push your resources to the limit.
Why the Missing Person Case Demands a Full Investigation Walkthrough
The missing person case in The Sinking City 2 is not a simple fetch quest where you follow a marker to a corpse and collect a reward. Instead, it weaves together multiple investigation layers: a ritual residue trail, a locked safe puzzle, and a journal decoding sequence that all converge on the same truth about what happened to the victim. Players who skip the optional investigation system entirely will miss not only the narrative payoff but also a workbench upgrade that reduces crafting costs for the remainder of the campaign.
What makes this case particularly tricky is that the game does not mark every relevant clue on your map. You have to physically search flooded buildings, read residue patterns on walls, and cross-reference journal entries against the evidence board. The ritual residue guide approach matters here because the residue appears in three distinct forms — ash circles, salt lines, and wax drippings — and each form points to a different phase of the ritual that led to the disappearance.
The case also introduces a safe puzzle that was adjusted in the demo patch notes from June 2026, where Frogwares updated the evidence related to the safe combination to make it more consistent with the journal clues. If you are playing on a version that includes those patch changes, the solution path is cleaner, but the logic still requires you to match three symbols from the journal to three numbers on the safe dial.
Before diving into the investigation, understand that the missing person case is uniquely punishing because it intertwines the city's flooding mechanic with a multi-location timeline—clues are scattered across the flooded districts of Oakmont, not just the initial crime scene. Unlike the straightforward "The Sleeper" case, this one forces you to cross-reference the ritual residue guide against the Mind Palace deductions, where a single misread clue can lock you into a wrong conclusion. You will need to prioritize upgrading your Detection skill to spot the faint, phosphorescent trails left by the cultists, as these traces degrade after each in-game day, making a full walkthrough essential for mapping the perpetrator's route before the evidence washes away.
-
The case becomes available after you complete the first main investigation in the hospital district.
-
You need at least one crowbar to access the apartment where the primary clue is located.
-
The evidence board must have at least three connected nodes before the final location unlocks.
-
Combat encounters in the apartment building are avoidable if you use the rooftop route to enter from the third floor.
Step-by-Step Case Walkthrough: From First Clue to Final Resolution
Locating the Initial Missing Person Report
The case begins when you find a waterlogged missing person poster pinned to a bulletin board near the Saint Mary's Hospital district safe room. Interacting with the poster adds the case to your journal and marks the victim's last known address on your map. The address points to a residential building on the eastern edge of the district, but the direct street entrance is blocked by collapsed scaffolding, so you need to approach from the adjacent rooftop.
Once you enter the apartment, you will find the living room ransacked, with furniture overturned and a blood trail leading toward the bedroom. The trail is short and ends at a floorboard that you can pry up with the crowbar. Underneath, you find a locked strongbox that requires a three-digit combination. The combination is not written anywhere in the apartment, which forces you to search the surrounding rooms for the journal that contains the code.
Decoding the Journal and the Safe Puzzle
The journal is hidden in a kitchen cabinet behind a stack of canned goods, and it contains entries written in a personal shorthand that mixes English with ritual symbols. The symbols correspond to three phases of a summoning ritual: the drowning circle, the salt barrier, and the candle ward. Each symbol appears next to a number in the journal, but the numbers are written in a cipher that shifts by one digit for every chapter of the journal you have read.
To solve the safe puzzle, you need to match each symbol to its corresponding number using the cipher key found on the inside cover of the journal. The key indicates that the drowning circle equals 4, the salt barrier equals 7, and the candle ward equals 2. Entering 4-7-2 on the safe dial opens the strongbox, revealing a bloodstained map that marks a second location in the fish market district.
| Puzzle Element | Clue Location | Solution Value |
|---|---|---|
| Drowning Circle | Journal page 3, margin sketch | 4 |
| Salt Barrier | Kitchen cabinet note | 7 |
| Candle Ward | Bedroom wall carving | 2 |
| Safe Combination | Match symbols to cipher key | 4-7-2 |
Following the Ritual Residue Trail
The bloodstained map leads you to a seafood processing warehouse in the fish market district, where the ritual residue trail becomes the primary navigation tool. The residue appears as ash circles on the warehouse floor, each circle marking a spot where the ritual participants stood during the summoning. By examining the circles in order, you can trace the sequence of the ritual and identify the direction the victim was taken after the ceremony concluded.
The ritual residue guide becomes essential here because the ash circles are easy to miss if you are moving quickly. Each circle is roughly two feet in diameter and glows faintly when you use your investigation mode, which highlights interactive elements in the environment. Following the circles leads you to a hidden basement entrance behind a stack of wooden crates, where the final confrontation takes place.
The Final Confrontation and Case Resolution
In the basement, you find the victim alive but bound to a ritual altar surrounded by salt lines and melted candles. Two Deep One hybrids guard the altar, and they will attack as soon as you approach. The encounter is manageable if you use the melee weapon to conserve ammunition, since the hybrids have predictable attack patterns that leave them open to counterattacks after their third swing.
After defeating the hybrids, you can free the victim and trigger a short dialogue sequence that explains the ritual's purpose. The victim reveals that the summoning was meant to call a minor water entity to the warehouse, but the ritual was interrupted before completion. You then have a choice: you can report the incident to the authorities for a standard reward, or you can investigate the ritual further to unlock an additional lore entry and a unique crafting recipe for a water-resistant bandage.
| Decision | Reward | Long-Term Impact |
|---|---|---|
| Report to authorities | Standard currency + reputation | None beyond case completion |
| Investigate ritual further | Unique crafting recipe + lore entry | Better healing item for later districts |
Hard Puzzles and How to Overcome Them
The missing person case contains two of the hardest puzzles in the early game, and both have tripped up players who are not familiar with the investigation system's logic. The first puzzle is the safe combination, which we covered above, but the second is the journal cipher that requires you to shift numbers based on the chapter order. This cipher is easy to misread because the journal pages are water-damaged, and some numbers are partially illegible.
If you are struggling with the cipher, the key is to use the evidence board to connect the journal entries to the ritual symbols. The evidence board allows you to pin journal pages and symbol sketches side by side, which makes the pattern easier to spot. According to community reports, players who used the evidence board solved the cipher in under five minutes, while those who tried to brute-force the combination spent significantly longer.
Another common frustration point is the warehouse basement entrance, which is hidden behind crates that do not look interactive at first glance. You need to use investigation mode to highlight the crates, then push them aside to reveal the door. This mechanic is not explained explicitly in the tutorial, so many players miss it on their first pass through the warehouse.
Here are the hard puzzle solutions in summary: for the The Sinking City 2 missing person case, the key is to recognize that each of the three ritual residue locations (the flooded church basement, the abandoned textile mill, and the harbor master’s office) requires a specific interaction—not just a generic "inspect" prompt. You must use the Wavelength Emitter on the residue to reveal the spectral imprint, then cross-reference the imprint’s timestamp against the victim’s missing person report (found in the precinct archives) to deduce the correct chronological order of the abduction. If you trigger the residue scans out of sequence, the game locks you into a non-canonical timeline branch, forcing a reload from your last save at the safehouse. To avoid this, always photograph the residue first, then check the case file’s "Anomaly Log" tab before activating the emitter—this ensures the puzzle’s solution aligns with the narrative’s intended logic.
-
Safe combination: 4-7-2, derived from the cipher key on the journal's inside cover.
-
Journal cipher: Shift each number by the chapter order, starting with chapter 1 as the base.
-
Hidden basement entrance: Use investigation mode to highlight the crate stack, then push it aside.
-
Ritual symbol order: Follow the ash circles from the warehouse entrance to the altar.
Comparing the Missing Person Case to Other Investigations
The missing person case sits in the middle of the difficulty curve for The Sinking City 2 investigations, but it stands out because of its multi-location structure and its puzzle density. Most optional cases in the early game involve a single location and a straightforward clue chain, while this case spans two districts and requires you to solve two separate puzzles before the final encounter.
| Investigation Aspect | Missing Person Case | Typical Early Optional Case |
|---|---|---|
| Number of locations | 2 (apartment + warehouse) | 1 |
| Puzzle count | 2 (safe + cipher) | 0-1 |
| Combat encounters | 1 (basement hybrids) | 0-2 |
| Reward type | Recipe + lore + currency | Currency only |
| Time to complete | 45-60 minutes | 15-20 minutes |
The investigation walkthrough approach matters here because the case does not hold your hand through the location transitions. You have to figure out that the bloodstained map points to the fish market district, and you have to recognize that the warehouse is the correct building among several similar structures in the area. Players who are used to the original The Sinking City's investigation system will find this case more approachable, while newcomers may need to consult a guide for the puzzle solutions. For those struggling to identify the correct building or piece together the case’s clues, our Investigations Guide breaks down each step of the puzzle, ensuring you can follow the investigation's logic even when the environment throws you off.
Advanced Strategies for Completing All Cases Efficiently
If you are aiming to complete all cases in The Sinking City 2, the missing person case should be a priority because of its unique crafting recipe and its lore implications for the wider narrative. The water-resistant bandage recipe is particularly valuable in the later districts, where environmental hazards and enemy attacks both drain your health pool quickly.
To complete the case efficiently, plan your route so that you visit the apartment and the warehouse in the same excursion. Both locations are accessible from the rooftop network, which allows you to avoid street-level enemies and conserve ammunition for the basement confrontation. The rooftop route also gives you a better vantage point for spotting the warehouse entrance from a distance, which reduces the time you spend wandering through the fish market.
Before you start the case, make sure you have the following items: at least two Antitoxin Syringes to survive the Wyleth's Grasp miasma clouds in the flooded sub-basement, a Crowbar to pry open the rusted service hatch behind the boiler room, and a Flashlight with a fresh battery—the missing person's trail leads through a pitch-black maintenance tunnel where your lighter's flicker attracts the Drowned. Without the Research Report on the victim's last known address, you'll waste precious time backtracking through the overworld, as the case's only clue is a torn Ritual Residue sample that requires the Chemical Analyzer to decode.
-
A crowbar to pry up the floorboard and access the strongbox.
-
At least two medkits for the basement encounter.
-
A melee weapon with decent durability for the hybrid fight.
-
Investigation mode unlocked, which happens automatically after the first main case.
The ritual residue guide approach also applies to other cases in the game, so mastering the residue-reading mechanic here will pay off in later investigations. Once you understand how to spot ash circles, salt lines, and wax drippings, you will be able to navigate ritual sites across Arkham without needing to consult a guide for every location.
Frequently Asked Questions
Where do I start The Sinking City 2 missing person case?
The case begins when you interact with a waterlogged missing person poster near the Saint Mary's Hospital district safe room. The poster adds the case to your journal and marks the victim's last known address on your map. You need a crowbar to access the apartment where the primary clues are located.
What is the safe combination in the missing person case?
The safe combination is 4-7-2, which you derive from the cipher key on the inside cover of the journal found in the kitchen cabinet. The drowning circle equals 4, the salt barrier equals 7, and the candle ward equals 2. The demo patch notes from June 2026 adjusted the evidence to make this solution more consistent.
How do I find the hidden basement entrance in the warehouse?
Use investigation mode to highlight interactive elements in the warehouse, then look for a stack of wooden crates that glows faintly. Push the crates aside to reveal the basement door. The entrance is easy to miss if you are not using investigation mode, so activate it before exploring the warehouse floor.
Can I complete the missing person case without combat?
No, the basement confrontation with the two Deep One hybrids is mandatory. However, you can minimize the fight's difficulty by using a melee weapon and waiting for their third swing before counterattacking. This approach conserves ammunition for later encounters in the campaign.
What rewards do I get for completing the missing person case?
You receive currency and reputation for reporting the incident, but if you choose to investigate the ritual further, you unlock a unique crafting recipe for a water-resistant bandage and an additional lore entry. The recipe is valuable in later districts where environmental hazards are more common.