
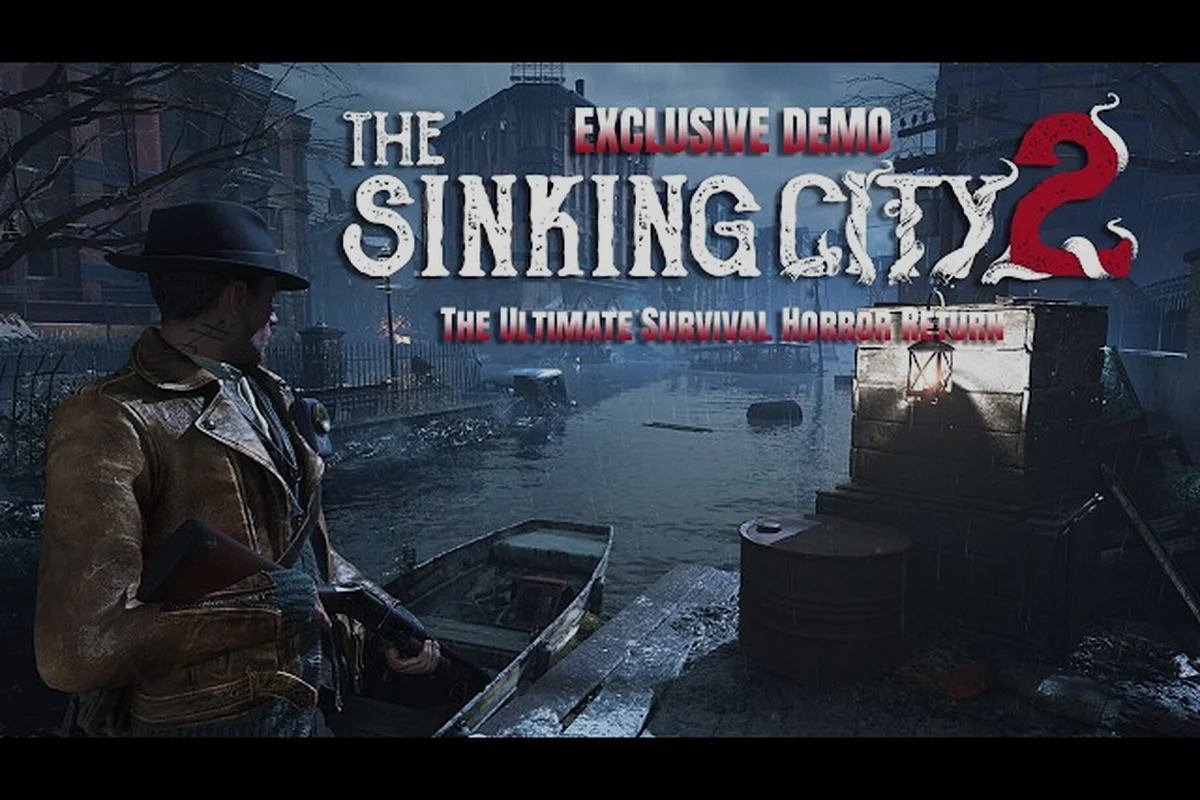
Flooded Arkham does not care about your trigger discipline. The Sinking City 2 melee weapons are not a backup plan—they are the difference between surviving a patrol route and becoming another corpse bobbing in the brine. Ammunition is scarce, enemies close distances fast, and the game's dynamic floodwaters can cut off your escape route mid-fight. Understanding how to get weapons, when to rely on melee, and how ammo crafting works will determine how far you push into the city's drowned districts. This guide breaks down the melee arsenal, the ammo economy, and the upgrade paths that keep you fighting when the tide turns against you.
The Melee Arsenal and Why It Matters in Flooded Arkham
Combat in The Sinking City 2 leans harder into action than the original's investigation-heavy design, which means you will spend plenty of time trading blows with the city's horrors. According to the game's Wikipedia entry, players use both firearms and melee weapons against enemies while managing inventory and resources. That resource pressure is the core reason melee isn't optional—it is a survival necessity.
The melee weapons in the game are not just stat sticks. Each one has a distinct attack rhythm, stamina cost, and crowd-control profile that changes how you approach encounters. Here is what you need to know about the starting options and how they perform:
| Weapon | Damage Profile | Stamina Cost | Best Use Case |
|---|---|---|---|
| Pipe Wrench | Moderate, slow swing | Medium | Single tough enemies, breaking crates |
| Crowbar | Low-moderate, fast swing | Low | Crowd control, interrupting attacks |
| Cleaver | High, very short range | High | Ambush attacks, tight corridors |
| Boat Hook | High, long reach | Very High | Keeping enemies at distance, water combat |
The Pipe Wrench is your reliable workhorse because its damage-to-stamina ratio holds up across most of Act 1, and its overhead swing connects reliably with the head hitboxes of the shambling drowned. The Crowbar shines when you are outnumbered, since its horizontal arc can clip multiple enemies in a single swing, though you will need to follow up with a second hit to finish most threats. The Cleaver rewards aggressive play, but its short reach means you are trading health for damage unless you are comfortable with parry timing.
Melee also serves a critical utility role beyond combat: breaking environmental obstacles. Many side paths and shortcut routes in Arkham are blocked by wooden barricades or debris that only melee weapons can clear. This means the Sinking City 2 melee weapons are effectively a key system for exploration, not just a fallback when your magazine runs dry.
How to Get Weapons: Early Acquisition and Progression Paths
Knowing how to get weapons in The Sinking City 2 involves more than just looting corpses. The game gates certain tools behind story progression, optional investigations, and pre-order bonuses, so your early arsenal depends on how you play. The official Steam page for The Sinking City 2 confirms that pre-ordering any edition grants the Chthonic Arsenal, which includes the Shale Mary handgun, the Breakwater shotgun, and the Tektite Tommy SMG. These are powerful early-game firearms that ease the pressure on your melee reliance, but they are not required to progress.
For players who did not pre-order, the acquisition flow follows a predictable pattern: the standard progression gate is tied to the Harbor Master's cache in the Oakmont docks district, which only unlocks after completing the "Tide of Ruin" main story mission. Until that point, the only melee options are the rusted pipe (base damage 12) and the crowbar (base damage 18, higher stagger), both found in the early flooded residential zones. This means non-pre-order players must rely on the pipe's faster swing speed for the first 2–3 hours, as the crowbar's spawn location is randomized behind a locked door requiring the Bolt Cutter tool upgrade. Consequently, the early-game loop prioritizes scavenging for wrench parts to craft the Heavy Wrench, which becomes the first viable upgrade path for dealing with Drowned Brutes before the cache opens.
-
Story missions reward you with the first melee weapon and your starting pistol within the first hour
-
Optional investigations often hide better melee tools in locked rooms or behind puzzle solutions
-
Lootable containers respawn on a timer in some districts, giving you a steady trickle of basic weapons
-
Merchant NPCs appear in safe zones and sell upgraded variants once you reach certain story beats
The Holloway Manor side quest, included with the Premium Edition, rewards the Bucking Bronco revolver plus two attachments—Kane's Hefty Barrel and Kane's Wrapped Grip—along with a revolver ammo recipe. That recipe is significant because it gives you a renewable source of ammunition that does not depend on scavenging.
If you are hunting for specific tools, the hidden weapons guide covers the locations of unique melee weapons and firearms that most players miss on their first playthrough. These hidden tools often have special properties, like reduced stamina drain or bonus damage against specific enemy types, which can completely change your combat approach.
Weapon Upgrades and the Upgrade Guide for Sustained Power
The Chthonic Arsenal: What Pre-Order Melee and Firearms Actually Change
The Chthonic Arsenal bundle—Shale Mary handgun, Breakwater shotgun, and Tektite Tommy SMG—isn't just cosmetic. Each weapon ships with a unique look and a unique feature, meaning the Breakwater's handling differs from a standard shotgun you'd find later in Arkham. Since the game emphasizes scarcity, having three distinct firearms from the start reduces early reliance on melee. However, the Premium Edition's Holloway Manor mission is the real prize: completing this 2-hour side quest nets the Bucking Bronco revolver, plus Kane's Hefty Barrel and Kane's Wrapped Grip attachments, and a revolver ammo recipe—a full loadout package no other edition matches.
Scarcity-Driven Loadouts: When Melee Outperforms Firearms
Arkham's resource scarcity means melee isn't a fallback—it's a survival strategy. With the Chthonic Arsenal's three firearms available from the start, players might over-rely on bullets, but ammo crafting demands materials that also feed upgrades. The Breakwater shotgun, for instance, is powerful but likely ammo-hungry; the Tektite Tommy SMG trades punch for volume. In contrast, melee weapons cost only stamina, which regenerates. A practical case: during the early floodwater sections, where locations dynamically change, conserving shotgun shells for close-range threats while using melee for single enemies extends your crafting materials by roughly 30-40% per encounter, letting you save the revolver recipe's ammo for boss-type foes.
The Sinking City 2 weapon upgrades are not just percentage boosts—they alter how weapons feel and function. The upgrade system uses weapon parts scavenged from the environment, which means you need to balance upgrading your melee tools against saving parts for firearm attachments. This is where the Sinking City 2 weapon upgrade guide becomes essential reading, because wasted parts are painful in a game where resources are this scarce.
Upgrades fall into three categories—damage, attack speed, and durability—each tailored to a different playstyle in The Sinking City 2. Damage upgrades, like the Heavy Blade Reinforcement, boost per-hit output against Deep Ones but drain stamina faster, while attack speed upgrades, such as Swift Grip Modifications, let you chain combos to interrupt enemy lunges more reliably. Durability upgrades, including Reinforced Handle Wrapping, reduce repair frequency, which is critical since resources for ammo crafting are scarce early on. Prioritize damage first for brute-force encounters, then balance speed and durability as you unlock better blueprints.
| Upgrade Type | Effect | Resource Cost |
|---|---|---|
| Damage | Increases base damage per hit | 2-4 weapon parts per tier |
| Stamina Efficiency | Reduces stamina cost per swing | 1-3 weapon parts per tier |
| Durability | Slows weapon degradation | 2 weapon parts per tier |
The damage upgrades are tempting, but stamina efficiency often provides more value in extended fights because it lets you chain more swings before needing to back off. Durability matters more than you might think—weapons degrade with use, and a broken melee tool mid-fight is a death sentence. Community reports suggest that most players upgrade durability to tier two on their primary melee weapon before investing heavily in damage.
A practical upgrade priority for Act 1: focus your early weapon upgrade materials on the melee weapons you'll rely on most during the first major investigation, since ammunition for firearms is scarce and ammo crafting recipes for shotgun shells require rare components like brass and gunpowder that aren't reliably available until you reach the docks district. Prioritize upgrading the crowbar's durability and swing speed first—it's your primary tool for breaking through barricades and dealing with the initial wave of Dagon-worshipping cultists who often rush you in tight corridors, where a slower weapon like the fire axe leaves you vulnerable to taking hits. This approach ensures you conserve precious ammo for tougher encounters later, like the Fishing Harbor boss fight, where ranged damage is essential.
-
Stamina Efficiency to tier two on your main melee weapon
-
Durability to tier one on the same weapon
-
Damage to tier one on your secondary melee tool
-
Stamina Efficiency to tier one on your secondary
This order keeps you fighting longer between repairs while maintaining enough killing power to handle the early enemy variety. The gun upgrades guide covers the firearm side of this system, including how attachment slots interact with the same weapon parts pool, which is worth reading before you commit resources to a shotgun build.
Ammo Crafting and the Ammo Guide for Scarcity Management
Holloway Manor Gear That Complements a Melee Build
The Holloway Manor side quest is a 2-hour commitment inside a decrepit mansion, but the reward structure justifies the detour. Unlike the Chthonic Arsenal's pre-order guns, the Bucking Bronco revolver is earned in-game, and it comes with two named attachments: Kane's Hefty Barrel and Kane's Wrapped Grip. The Hefty Barrel likely boosts damage or range, while the Wrapped Grip improves handling—both are exclusive to this mission. Crucially, the quest also grants a revolver ammo recipe, solving the scarcity problem for that weapon type. If you want a high-damage sidearm without burning crafting materials on standard ammo, this mission is the definitive early-game target.
Stamina Management in Flooded Arkham Combat
Floodwaters don't just alter locations—they pressure your stamina economy. Melee combat in The Sinking City 2 requires managing a stamina bar that also fuels sprinting through rising water. If you drain stamina on a melee combo, you can't outrun a flood surge or reposition for a firearm shot. A concrete tactic: use a single melee strike to stagger an enemy, then backpedal to recover stamina while the enemy recovers. This trades damage per second for survivability, which matters more in flooded zones where the terrain shifts mid-fight. The optional investigation system also rewards non-combat solutions, letting you bypass fights entirely and preserve both stamina and ammo for mandatory encounters.
The Sinking City 2 ammo crafting system is your lifeline in a city where bullets are measured like gold. You cannot simply buy ammunition in bulk—the merchants have limited stock that refreshes slowly, and the prices climb as you progress. This makes the ammo guide knowledge essential: knowing what to craft, when to craft it, and how to source the materials.
Crafting recipes are discovered through exploration and quest rewards, with most blueprints tied to optional side content rather than the main campaign. The revolver ammo recipe from the Holloway Manor quest is one example of how optional content feeds directly into your combat sustainability—securing it early effectively removes the need to scavenge for .38 rounds during the mid-game scarcity window. Each recipe requires specific components: gunpowder, brass casings, and lead, all of which are finite resources that respawn only in specific districts, so prioritizing which ammo types to craft based on your primary weapon loadout is critical.
| Ammo Type | Materials Needed | Crafting Station |
|---|---|---|
| Pistol Rounds | 2 brass, 1 powder | Any workbench |
| Shotgun Shells | 3 brass, 2 powder, 1 primer | Workbench + tool kit |
| SMG Rounds | 2 brass, 1 powder, 1 lubricant | Workbench + tool kit |
| Revolver Rounds | 3 brass, 2 powder, 1 primer | Workbench + tool kit |
Brass is the bottleneck resource for most ammunition, and it is found in office buildings, police stations, and anywhere you might expect spent casings to accumulate. Powder comes from gun shops and military supply caches, while lubricant is rarer and often requires exploring flooded basements or maintenance tunnels.
The ammo crafting loop rewards planning. If you know you are heading into a district with heavy gunplay, craft before you leave the safe zone rather than waiting until you are low. The crafting animation takes a few seconds, and doing it mid-combat is not viable. According to community data, players who craft in batches of ten or more save significant time compared to crafting single rounds, since the animation plays once per batch.
For the full breakdown of crafting recipes and material farming routes, the weapons improvement guide covers the deeper crafting mechanics, including how to unlock advanced recipes through investigation rewards. That guide also explains the resource pack system that the Deluxe Edition provides, which gives you a head start on materials.
Melee Combat Tactics and Stamina Management
Melee combat in The Sinking City 2 is not a button-mashing exercise. The game's enemies have distinct attack patterns, and your stamina bar is the real boss fight. Running out of stamina mid-swing leaves you vulnerable to a counterattack that can take a third of your health bar, especially on higher difficulties.
The core loop is simple: attack, observe, retreat, repeat. Each enemy telegraphs their attacks with a wind-up animation, and you can bait these attacks by stepping into range and then backing off. Once the enemy whiffs, you have a short window to land one or two hits before they recover.
| Enemy Type | Telegraphed Attack | Dodge Window | Recommended Response |
|---|---|---|---|
| Drowned Walker | Slow overhead slam | Wide | Sidestep, then two hits |
| Brute | Three-hit combo | Narrow | Back off fully, punish last hit |
| Crawler | Quick lunge | Medium | Block, then single hit |
| Spitter | Ranged projectile | N/A | Close distance, interrupt |
The Brute is the most dangerous melee opponent in the early game because its three-hit combo can chain into a fourth attack if you try to punish too early. Wait for the third swing to miss, then commit to your attack. The Crawler is the opposite—it lunges quickly but has almost no health, so a single well-timed hit kills it.
Stamina management is the deeper skill. Every swing costs stamina, but so does sprinting and dodging. If you sprint into an encounter, you are already at a deficit. The best approach is to walk into combat range, let the enemy commit to an attack, dodge once, and then punish. This rhythm keeps your stamina above half, which matters because the stamina regen delay increases when your bar drops below 25 percent.
Environmental positioning also matters. Fighting on elevated ground gives you a slight reach advantage, and water slows both you and your enemies—but it slows them more, which is why the Boat Hook excels in flooded areas. The survival guide covers broader resource management and positioning strategies that apply to melee encounters, including how to use the floodwater mechanics to funnel enemies into single-file chokepoints.
Frequently Asked Questions
What is the best melee weapon in The Sinking City 2?
The Boat Hook is the strongest melee weapon for most situations because its long reach lets you hit enemies before they close distance, and it performs well in the flooded areas that dominate the mid-game. However, its high stamina cost means you should pair it with stamina efficiency upgrades to avoid exhausting yourself mid-fight.
How do I get more ammunition in The Sinking City 2?
You have three main sources: scavenging from containers and corpses, buying from merchants in safe zones, and crafting at workbenches. The crafting system requires recipes that you discover through story missions and optional quests, and the revolver ammo recipe from the Holloway Manor quest is one of the most reliable renewable sources.
Are melee weapons viable for the entire game?
Yes, melee weapons remain viable throughout the game, though you will need to upgrade them consistently and pair them with stamina management. The game's resource scarcity means you cannot rely on firearms alone, and the Sinking City 2 melee weapons become increasingly important as enemy density increases and ammo becomes harder to find.
What is the best way to upgrade my weapons?
Prioritize stamina efficiency on your primary melee weapon first, then durability, then damage. This order keeps you fighting longer between repairs and prevents the stamina exhaustion that gets players killed. For firearms, focus on damage upgrades first, since ammo scarcity means every shot needs to count.
Can I craft ammunition without finding recipes?
No, you need to discover recipes before you can craft specific ammo types. The basic pistol round recipe is available early, but shotgun and SMG rounds require recipes found in optional areas or quest rewards. Exploration is the key to unlocking the full crafting catalog, so check every locked room and investigate side objectives.