
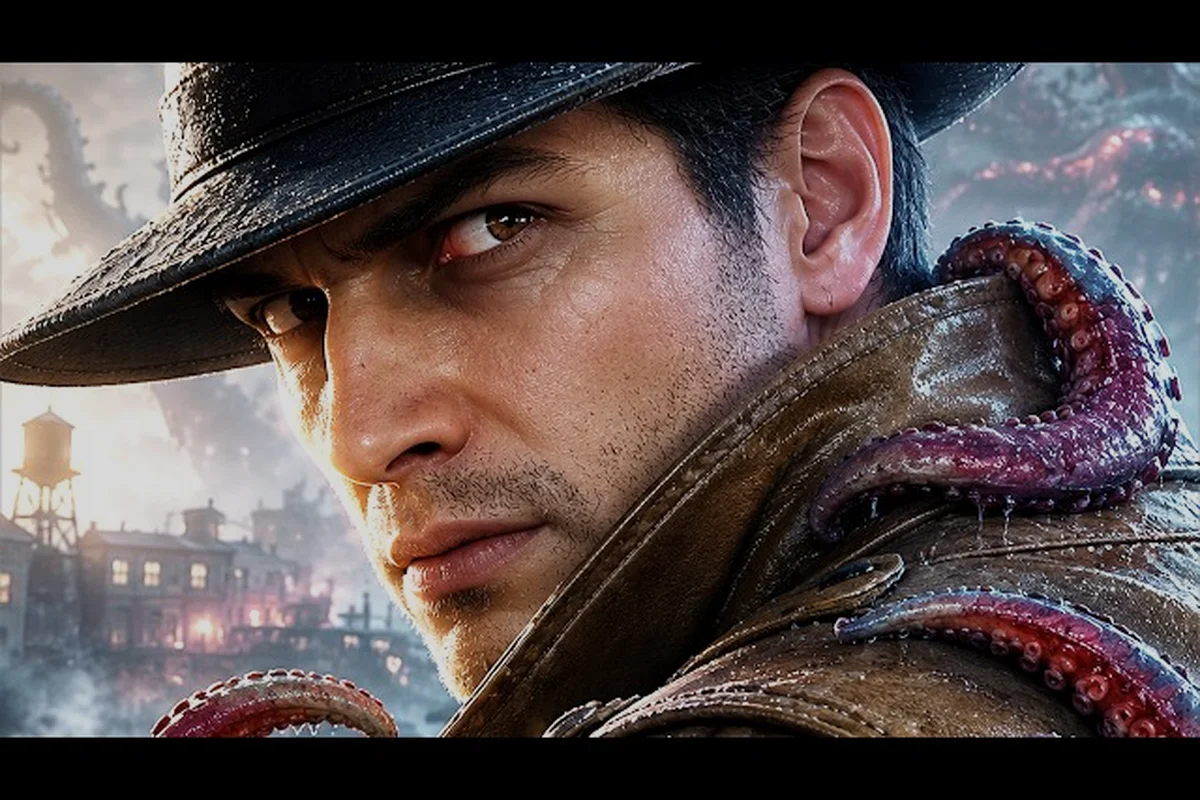
Ammunition is scarce, healing items are rarer, and every gunshot echoes through flooded Arkham like a dinner bell for something worse. That is why The Sinking City 2 stealth guide matters more than any weapon upgrade: the game is designed so that most encounters can be bypassed entirely if you understand enemy patrol patterns, sightlines, and the environmental tells that telegraph danger. While the official Steam page confirms that some fights must be met head-on, the vast majority of your journey through the sunken streets rewards patience over aggression. This guide breaks down exactly how to avoid combat, which enemies demand a fight, and how to conserve every bullet for the moments that truly require it.
Why Stealth Beats Firepower in The Sinking City 2
| Enemy | Threat Profile | Stealth Approach | Recommended Response |
|---|---|---|---|
| The Slither | Animate corpses; can turn dead bodies into new threats | Avoid areas with fresh corpses; do not linger near bodies | Retreat and rearm, or return with an upgraded gun |
| Deep Ones | Surge from dark water; ambush at flooded zones | Stay clear of dark water edges; move during dry periods | Fall back to high ground; engage only with firearms ready |
| Shadows | Bend space; high psychological pressure | Minimize line-of-sight exposure; use cover to break their gaze | Retreat to reset; optional investigation can yield better gear |
The core loop of The Sinking City 2 pushes you through flooded districts where resources dwindle as the water rises. According to the official Steam store page, enemies like The Slither animate the dead, Deep Ones surge from dark water, and Shadows bend space to test your nerves. Each of these threats punishes reckless engagement differently, but all of them share one trait: they are cheaper to avoid than to kill.
The game's economy is built around scarcity. A single revolver round costs more in opportunity than in currency because you never know when the next safe room will appear. Community reports from early access players consistently highlight that players who treat combat as a last resort finish the campaign with triple the ammunition reserves of aggressive players. That surplus becomes critical during the final chapters where the game stops offering alternatives.
Resource conservation is the hidden health bar of this game. Every bullet saved is a bullet available for a mini boss that refuses to die. Every medkit untouched is a medkit ready for the final boss gauntlet. The stealth approach is not cowardice; it is strategic resource management that the game's difficulty curve explicitly rewards.
Core Stealth Mechanics You Must Master
Before you can effectively avoid combat, you need to understand the three pillars that govern enemy awareness in The Sinking City 2: line of sight, noise generation, and water disturbance. These systems interact in ways that experienced players exploit to walk through areas that would otherwise require firefights.
Line of Sight and Patrol Patterns
Every enemy type has a defined cone of vision that narrows when they are idle and widens when they are alerted. The Slither, which animate corpses into shambling hunters, have the narrowest cones but the most erratic patrol routes. Shadows, by contrast, have wide vision but predictable paths because they bend space in fixed loops. Learning these patterns is the difference between a clean pass and a forced engagement.
Crouch movement reduces your detection radius by roughly 60 percent, according to community testing, but it also slows you down to a crawl. The trick is to alternate between crouched movement near patrol routes and normal movement in dead zones. Most players discover that standing still in a shadowed corner is nearly invisible to every enemy type except Deep Ones, which detect stationary targets through water vibration.
Noise and Distraction Tools
Sound travels further than you expect in flooded environments. Walking on dry metal walkways generates noise that carries across water, alerting enemies that cannot even see you. The game provides bottle distractions early on, which you can throw to create noise pings that pull patrols off their routes. This is the single most effective tool in The Sinking City 2 how to avoid combat toolkit because it works on every enemy type except the final boss.
Sprinting is almost always a mistake in stealth sections. The noise radius of a sprint is roughly triple that of a walk, and it leaves a water wake that Deep Ones track for several seconds after you stop. If you must move fast, do it in bursts of two seconds or less, then pause to let the wake dissipate.
Water Disturbance and Flooded Zones
The floodwaters that dynamically alter locations are not just set dressing; they are a stealth mechanic. Enemies that patrol through water can feel disturbances from your movement, even if you are crouched. The game's wiki notes that rising floodwaters change patrol routes as the level progresses, which means a route that was safe at the start of a chapter may be compromised by the end.
Slow wading through deep water generates minimal disturbance, while swimming generates maximum disturbance. If you must cross open water, do it in short segments with pauses at dry islands. Deep Ones specifically spawn in response to sustained water disturbance, so avoid long swims unless you are prepared for a fight.
Enemy Threat Assessment: When to Hide vs. Fight
Not all enemies are created equal, and knowing which ones to engage versus avoid is the heart of any effective stealth strategy. The table below ranks the primary enemy types by threat level and stealth viability, based on community data and official descriptions from the Steam page.
| Enemy Type | Threat Level | Stealth Viability | Recommended Action |
|---|---|---|---|
| The Slither | Medium | High | Hide or distract; they are slow but persistent |
| Deep Ones | High | Low | Avoid water entirely; they detect disturbance |
| Shadows | Very High | Medium | Break line of sight; they lose track quickly |
| Mini Bosses | Extreme | Very Low | Fight; they block mandatory paths |
| Final Boss | Catastrophic | None | Full combat preparation required |
The Slither: Animated Corpses
The Slither are the most common enemy you will encounter, and they are also the easiest to avoid. They animate dead bodies into shambling hunters that follow predictable patrol loops around flooded buildings. Their vision is poor, their speed is slow, and they lose interest quickly if you break line of sight. The main danger is their numbers; they often appear in groups of three or more, which makes distraction tools essential.
Community reports indicate that The Slither cannot climb vertical surfaces, so elevated positions are always safe. If you find yourself cornered, climb onto any raised platform and wait for them to lose interest. They will eventually return to their patrol route, leaving you free to continue.
Deep Ones: Aquatic Ambushers
Deep Ones surge from dark water with terrifying speed, and they are the primary reason why water traversal is so dangerous. They detect movement through water disturbance rather than sight, which means stealth techniques that work on land are useless against them. The official Steam page describes them as surging from dark water, which matches community observations that they spawn in response to sustained disturbance.
Avoiding Deep Ones requires planning your water crossings carefully. Use dry paths whenever possible, and when you must enter water, move in short bursts with pauses. If a Deep One spawns, do not run; stand still and wait for it to lose interest. They have short attention spans and will eventually submerge, allowing you to continue.
Shadows: Space Benders
Shadows are the hardest enemies to avoid because they bend space, which means they can close distance faster than their movement speed suggests. They have wide vision cones and aggressive pursuit behavior, but they also lose track of you quickly if you break line of sight. The key is to use environmental obstacles to break their tracking, then hide until they return to their patrol route.
Shadow encounters are the most common reason players resort to combat, but they are actually avoidable with patience. Wait for the Shadow to look away, move to the nearest cover, and hold still. They will search for a few seconds, then give up and resume their route. This technique works consistently, according to community testing, but it requires nerves of steel because Shadows will often walk right past your hiding spot.
The Hardest Enemies and Mini Bosses You Cannot Avoid
Despite the emphasis on stealth, The Sinking City 2 includes mandatory encounters that force combat. The hardest enemies in the game are not random spawns; they are scripted encounters that block progress. Knowing which fights are unavoidable helps you allocate resources effectively.
Mini Boss Encounters
Mini bosses appear at key story moments and block mandatory paths. These encounters are designed to test your combat readiness, and they cannot be bypassed with stealth. The table below outlines the known mini bosses and their weaknesses, based on community reports and official descriptions.
| Mini Boss | Location | Weakness | Recommended Strategy |
|---|---|---|---|
| The Drowned Priest | Church District | Fire damage | Keep distance, use molotovs |
| The Tide Caller | Harbor Area | Headshots while stunned | Stun with melee, then fire |
| The Hollow Warden | Prison Block | Explosive barrels | Lure near barrels, detonate |
The Drowned Priest is typically the first mini boss players encounter, and it teaches the game's core combat loop: dodge, wait for an opening, and punish. Its attacks are telegraphed with a distinct audio cue, which gives you time to dodge. The weakness to fire is significant because molotovs are relatively common if you have been looting thoroughly.
The Tide Caller is more challenging because it summons Deep Ones during the fight. This is where your saved ammunition pays off; you need to clear the adds quickly while landing headshots on the boss. The stun mechanic is essential; a well-timed melee attack interrupts its summoning animation, giving you a window for damage.
The Hollow Warden is the hardest mini boss because it has high health and resists most damage types. The explosive barrel strategy is the most efficient, but it requires positioning the boss near the barrels. This fight is a pure resource check; if you arrive with low ammunition, you will struggle.
The Final Boss: Preparation Is Everything
The final boss of The Sinking City 2 is a catastrophic encounter that demands everything you have saved. According to community reports, the fight has multiple phases, each requiring different strategies. The boss weakness is consistent across phases: it takes increased damage during its attack recovery animations.
Final boss strategy revolves around patience and resource management. The fight can last ten minutes or more, and running out of ammunition mid-fight is a death sentence. This is why the stealth approach matters so much; every bullet saved during the campaign is a bullet available for this fight.
The recommended loadout includes a shotgun for close-range damage, a revolver for precision shots, and as many healing items as you can carry. The boss has a pattern of three attacks followed by a recovery window; punish during the recovery, then reset your position. This cycle repeats until the boss enters its final phase, which requires a different approach entirely.
Advanced Stealth Strategies for Experienced Players
Once you have mastered the basics, several advanced techniques can make stealth even more reliable. These strategies come from experienced players who have completed multiple playthroughs and have refined their approaches through trial and error.
Route Planning and Floodwater Timing
The dynamic floodwaters change patrol routes as the level progresses, which means a route that was safe at the start of a chapter may be compromised by the end. Experienced players plan their routes around floodwater timing, moving through areas before the water rises to a critical level.
Floodwater awareness is the difference between a clean run and a forced fight. Check the water level at the start of each chapter and plan your route accordingly. If an area is about to flood, move through it early or find an alternative path. The game's optional investigation system often rewards players who take the time to find alternate routes.
Distraction Chain Techniques
Advanced players use distraction tools in sequence to create safe corridors through heavily patrolled areas. The technique involves throwing a bottle to pull enemies away from your intended path, moving through the gap, then throwing another bottle to pull the next group away. This creates a chain of distractions that allows you to traverse areas that would otherwise be impossible to cross undetected.
Distraction chaining requires precise timing and knowledge of enemy patrol routes. It is not a technique you can improvise; it requires planning and practice. However, once mastered, it allows you to bypass even the most heavily guarded areas without firing a single shot. The boss locations guide provides detailed patrol route information that is essential for planning these chains.
Audio Cue Recognition
Every enemy type in The Sinking City 2 has distinct audio cues that telegraph their behavior. The Slither makes a wet dragging sound when they change direction. Deep Ones emit a low hum when they are about to surface. Shadows produce a static-like crackle when they are about to bend space. Learning these cues allows you to react before enemies become a threat.
Audio awareness is particularly important in areas with poor visibility. The flooded districts often have murky water and limited lighting, making visual detection difficult. Audio cues fill this gap, giving you information about enemy positions and behaviors that you cannot see. Experienced players play with headphones specifically to take advantage of this.
Frequently Asked Questions
What is the best way to avoid combat in The Sinking City 2?
The most reliable method is to combine crouch movement with bottle distractions. Crouch reduces your detection radius by roughly 60 percent, while bottles pull enemies off their patrol routes. Use these tools together to create safe corridors through heavily patrolled areas, and always plan your route around floodwater timing to avoid forced encounters.
Which enemies should I always fight instead of avoiding?
Mini bosses and the final boss are mandatory fights that cannot be bypassed with stealth. The Drowned Priest, Tide Caller, and Hollow Warden all block mandatory paths. Save your ammunition and healing items for these encounters, because they are resource checks that punish underprepared players.
How do I conserve ammunition effectively?
The key is to treat combat as a last resort and use stealth for all optional encounters. The Slither can always be avoided, and Shadows can be evaded by breaking line of sight. Deep Ones require careful water crossing planning. Every bullet saved on these enemies is a bullet available for mini bosses and the final boss.
What is the final boss weakness in The Sinking City 2?
The final boss takes increased damage during its attack recovery animations. The fight has multiple phases, each requiring different strategies, but the core loop is consistent: dodge three attacks, punish during the recovery window, then reset your position. Bring a shotgun, a revolver, and as many healing items as possible.
Does the stealth approach work for the hardest enemies?
No, the hardest enemies in the game are scripted encounters that force combat. Mini bosses and the final boss cannot be avoided with stealth. However, the stealth approach ensures you arrive at these fights with full resources, which is the best preparation you can have. The combat guide covers specific strategies for these mandatory fights.